The Ultimate Guide to Smoking a Turkey (Temps, Times & Tips for a Juicy Bird!)

If you’re thinking about smoking a turkey and your palms are already sweating… relax. Take a deep breath. You’ve got a friendly pitmaster in your corner now. And not the know-it-all kind, either—just a regular guy who loves good food, good company, and helping folks avoid a dry bird on Thanksgiving.
Smoking a turkey isn’t hard, but it can feel intimidating the first time you do it—especially when half the family is counting on that bird to be the star of the meal. Don’t worry. I’m going to walk you through everything step-by-step so you feel confident from the moment you pick out your turkey to the moment you slice into that juicy masterpiece.
Save this page, bookmark it, print it, whatever you need to do—because this is the guide I wish someone had handed me when I smoked my very first turkey.
Quick Note Before We Begin:
If you’re just here for the recipe and don’t need the full guide, you can jump straight to my smoked turkey recipe here: The Perfect Smoked Turkey

But if you want your turkey to turn out tender, juicy, flavorful, with crispy skin that doesn’t chew like rubber? Stick with me. We’re about to make some magic.
Why Smoke a Turkey?
If this is your first turkey, start with our complete how-to smoking guide so you understand the bigger picture.
You might be wondering why folks go to the trouble of smoking a turkey when they could toss it in the oven and call it a day. I’ll tell you why:
- Flavor: Smoke + turkey = pure holiday glory.
- Juiciness: Done right, it beats oven-baked turkey every time.
- Crispy skin: That bite-through, golden brown perfection? Yes, please.
- Smells incredible: Your neighbors will find excuses to wander into your yard.
- Oven stays free: Cook the turkey outside and your whole kitchen breathes a sigh of relief.
Smoking a turkey adds that “wow” factor to the meal. And if this is your first time, don’t worry—I’ve got tips to help you nail it.
The #1 Secret to a Juicy Turkey
Lean in close, because I’m about to tell you the thing most failed smoked turkeys have in common: No brine.
I’m not bossy by nature, but hear me out—wet brining is the Cadillac of juicy turkey. If you can spare a little fridge space and you don’t mind babysitting a bucket of poultry for a day, wet brine that bird. The juice payoff is worth the weird looks when someone opens the fridge.
If brining is new to you, don’t worry—I’ll walk you through it in a bit.
🧰 Tools You’ll Need
You don’t need fancy equipment. You just need the right tools to make the job easier. We've got a full post listing our Essential Grilling Tools, but here's a quick look at what I recommend having ready:
- A smoker (pellet grill, offset smoker, Big Green Egg, or any smoker you love). We love our Traeger Pro 780.
- Reliable meat thermometer (game-changer—you can’t “guess” doneness)
- Wooden Grill Grate
- Meat Claws
- Drip pan
- Fireproof Mat
- Aluminum foil
- Sharp carving knife
- Large bowl or bucket for brine (if wet brining)
- Kitchen towels or paper towels
Optional, but handy:
- Injector (if you like extra flavor under the skin)
- Butcher’s twine
- Baster or spray bottle
Ingredients (Basic)
- Whole turkey (10–20 lbs works best for smoking)
- Butter or oil
- Kosher salt
- Black pepper
- Poultry seasoning or your favorite BBQ rub
- Optional: citrus, onion, herbs, garlic, stock for the brine
Tip: If your turkey is already labeled “enhanced with up to X% solution,” go easy on the salt.
Thawing Your Turkey Safely

If your turkey is frozen, don’t wait until the day before to thaw it unless you enjoy chaos.
Here’s a safe thawing guide:
- 10–12 lb turkey: 3 days in the fridge
- 12–16 lb turkey: 4 days
- 16–20 lb turkey: 5 days
Keep it in a pan while thawing to catch the drips. Don’t ask how I learned that.
📅 Your Turkey Smoking Timeline
I’m going to give you a simple timeline in this guide, but if you want a one-page printable version you can tape to the fridge or keep by the smoker, I’ve got you covered.
Get the printable lead magnet here: “Get the Turkey Smoking Timeline & Temp Chart”

This printable will include:
- When to start brining
- When to prep
- When to put it on the smoker
- Target temps
- Resting window
- Carving time
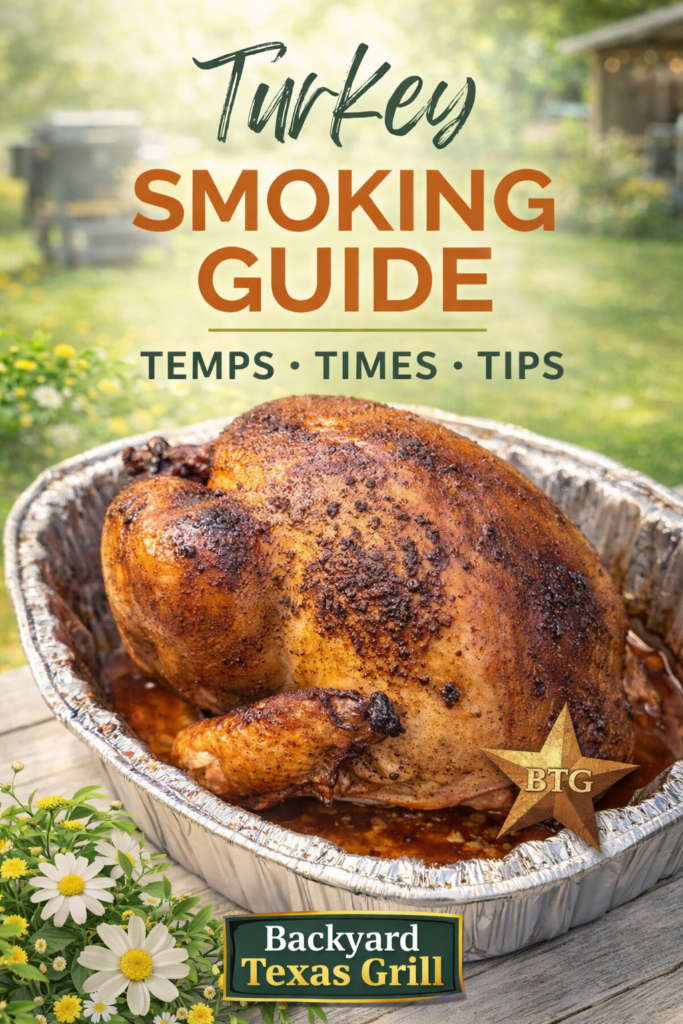
Let’s Talk Temperature (Zach’s Method)
Most folks online will tell you to smoke a turkey at 225–275°F.
And sure, you can do that…
But unless you enjoy rubbery skin, I’m going to save you some heartache:
I cook my turkey at 350°F.
Here’s why:

- Crispier skin
- Shorter cook time
- Still plenty of smoky flavor
You don’t need to torture the bird at low temps to get smoke flavor. 350°F gives you the best of both worlds.
(I’ll teach alternatives later in this guide for folks who want them, but 350°F is my #1 pick.)
Step 1: Brining Your Turkey (Wet Brine Recommended
Brining is like giving your turkey a spa treatment before the big day. It hydrates the meat, seasons it all the way through, and helps keep it juicy while it cooks.
You’ve got three choices here, and I’ll tell you my preferred method first. You can’t go wrong with any of them, but if you want that “WOW, this is the juiciest turkey I’ve ever had!” reaction at the table… go with Option 1.
Option 1: Wet Brine (Zach’s Pick)

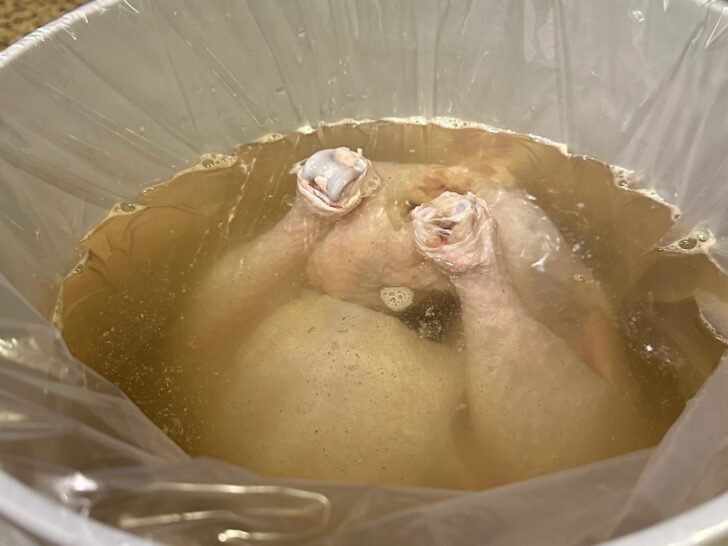
If you’ve got the fridge room and a big enough bowl or bucket to soak your turkey, this is the VIP treatment.
Why wet brine?
It produces the juiciest meat, full stop. The salt solution works its way into the bird, locking in moisture so the breast doesn’t dry while the legs finish cooking.
Yes, it’s a commitment. Yes, your turkey will be hanging out in the fridge like it owns the place. Totally worth it.
Basic Wet Brine Formula:
(This is the “easy but effective” version—no fancy ingredients required.)

- 1 gallon water
- 1 cup kosher salt
- ½ cup sugar (brown or white)
- Optional flavor boosters: peppercorns, sliced oranges, bay leaves, rosemary, thyme
How to Do It:
- Heat ½ gallon of the water and dissolve salt + sugar.
- Remove from heat, add remaining cold water to cool it down.
- Submerge the turkey completely.
- Refrigerate 12–24 hours.
- Rinse and pat dry before seasoning.
If your turkey starts floating, don’t panic—just weigh it down with a plate. We’ve all been there.
Option 2: Dry Brine
No bucket, no mess, no fridge gymnastics. Just salt that works its magic overnight.
How to Dry Brine:
- Pat turkey dry.
- Rub 1–2 tablespoons of kosher salt all over the bird, especially under the skin on the breast.
- Rest in the fridge, uncovered, 12–24 hours.
Dry brine gives a great flavor boost and produces crisp skin, but the meat won’t be quite as juicy as a wet brine.
Option 3: No Brine (But Use Butter Under the Skin)
If brining sounds about as appealing as running a marathon… you can skip it. Just know you’re passing up the easiest insurance policy for juicy meat.
If you go this route, do two things to help yourself out:
- Gently separate the skin from the breast and rub butter or herbed butter underneath.
- Salt the outside well and let the turkey sit uncovered in the fridge for a couple hours before cooking.
This helps with moist meat and crispy skin—but again, brining is better.
Step 2: Prepping the Turkey

Once your bird is thawed and brined, let’s get it ready for the smoker.
- Remove the turkey from the brine (if using) and pat it dry—especially the skin. Moisture is the enemy of crispiness.
- Remove giblets (check both ends… the turkey hides surprises).
- Tuck wings behind the shoulders to prevent burning.
- Season inside and out with salt, pepper, and your favorite rub.
- If you wet-brined, go lighter on the salt.
- Add aromatics to the cavity if you like: onion, citrus, garlic, herbs. Not required—but smells amazing.

Pro tip: If you want next-level flavor, gently rub softened butter under the skin on the breast. Just don’t tear the skin—this isn’t a wrestling match.
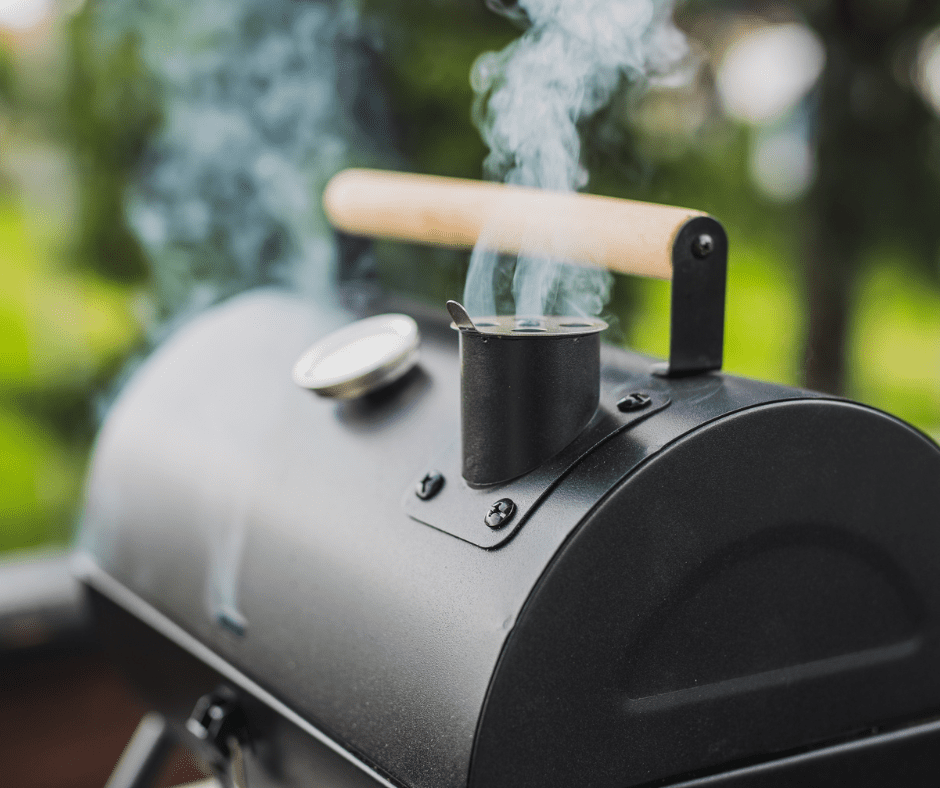
Step 3: Firing Up the Smoker
Set your smoker to 350°F.
I know a lot of folks swear by “low and slow,” but hear me out—turkey skin cooked at low temps turns rubbery fast. It’s not you, it’s science.
350°F solves that problem.
If your smoker struggles to reach or hold 350°F (looking at you, some pellet grills), aim for 325°F and allow a little extra time.
Best Woods for Turkey:
- Apple (mild + sweet)
- Cherry (beautiful color + mild flavor)
- Pecan (classic Southern flavor)
Stick to milder woods so the smoke doesn’t overpower the turkey.
Avoid heavy-handed hickory or mesquite unless you like turkey that tastes like it survived a house fire.
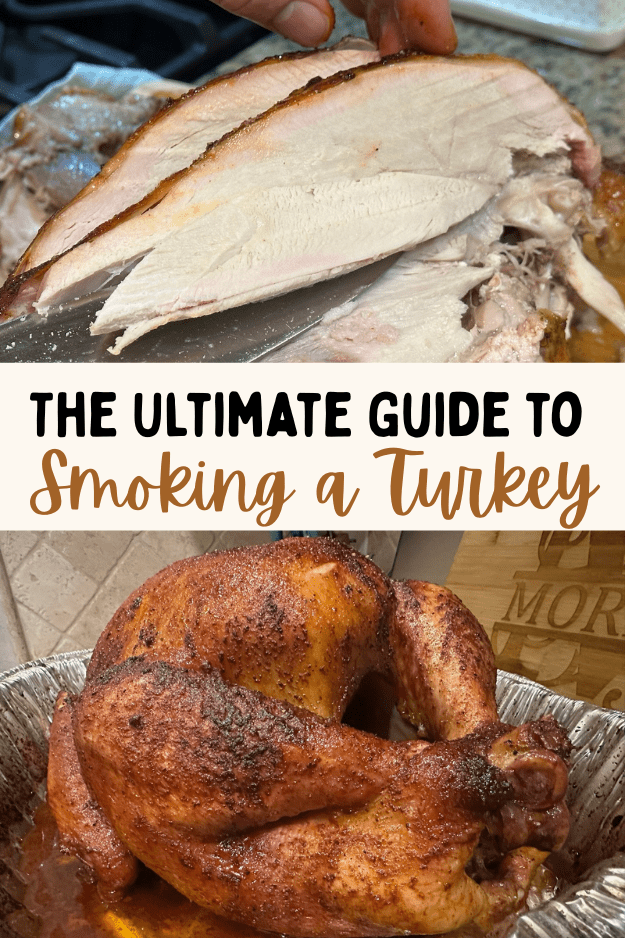
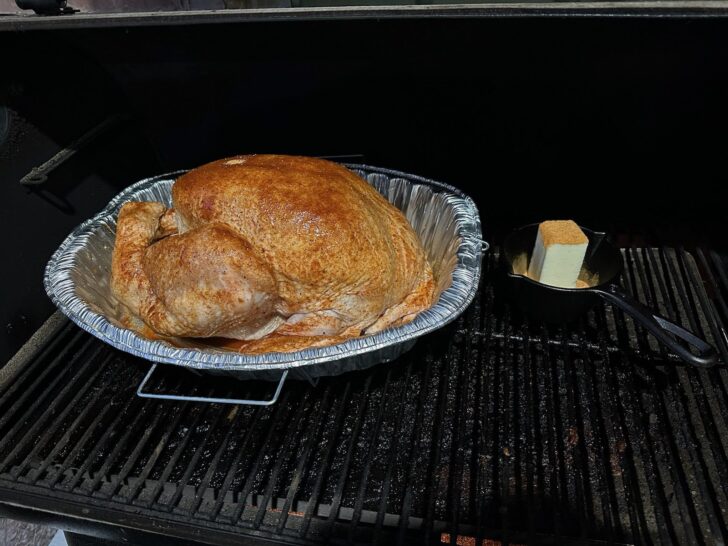
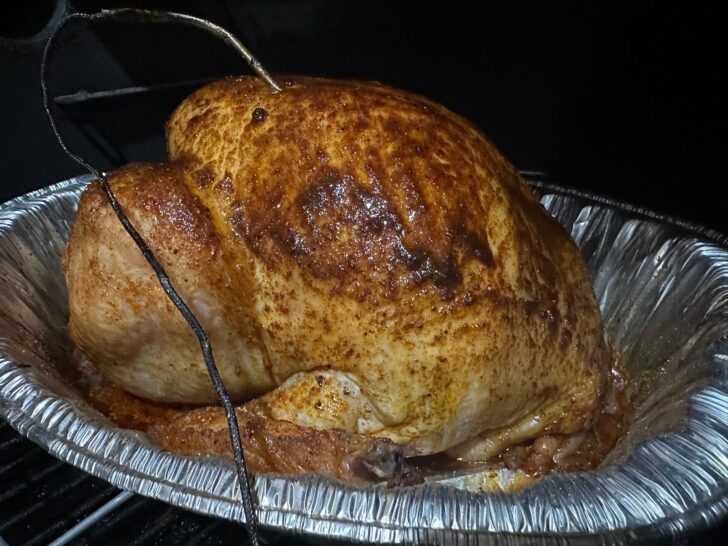
Step 4: The Smoking Process (Simple & Stress-Free)

Here’s your step-by-step:
- Place a drip pan under the grate to catch juices and keep your smoker clean.
- Set the turkey breast-side up directly on the grate or on a small rack in a pan.
- Close the lid and let the smoker do its job.
- Check internal temps halfway through to see how you’re tracking.
- Rotate the turkey if one side is browning faster.
No constant basting, no peeking every 10 minutes. The smoker’s doing the work—let it.
How Long Does It Take?

At 350°F, plan for about 12–15 minutes per pound.
Here’s a quick guide:
| Turkey Weight | Approx. Cooking Time |
|---|---|
| 10–12 lbs | 2 to 2.5 hours |
| 13–15 lbs | 2.5 to 3.25 hours |
| 16–18 lbs | 3.25 to 3.75 hours |
| 19–20 lbs | 3.75 to 4.25 hours |
But I’m gonna say this loud for the folks in the back: cook to temp, not time.
Every turkey cooks differently. Wind, outside temp, smoker type—they all play a part.
The turkey is done when the breast reaches 160–165°F and the thigh is around 170°F.
Step 5: Resting the Turkey (Don’t Skip This!)

Once your turkey hits temp, take it off the smoker and let it rest.
I know—everyone’s hungry and hovering like vultures—but resting is what keeps those juices inside the meat where they belong.
- Rest at least 30 minutes, ideally 45–60.
- Tent loosely with foil (don’t wrap tightly or you’ll steam the skin).
This gives the juices time to redistribute. If you slice too soon, all that moisture escapes onto the cutting board. Don’t let your hard work leak away.
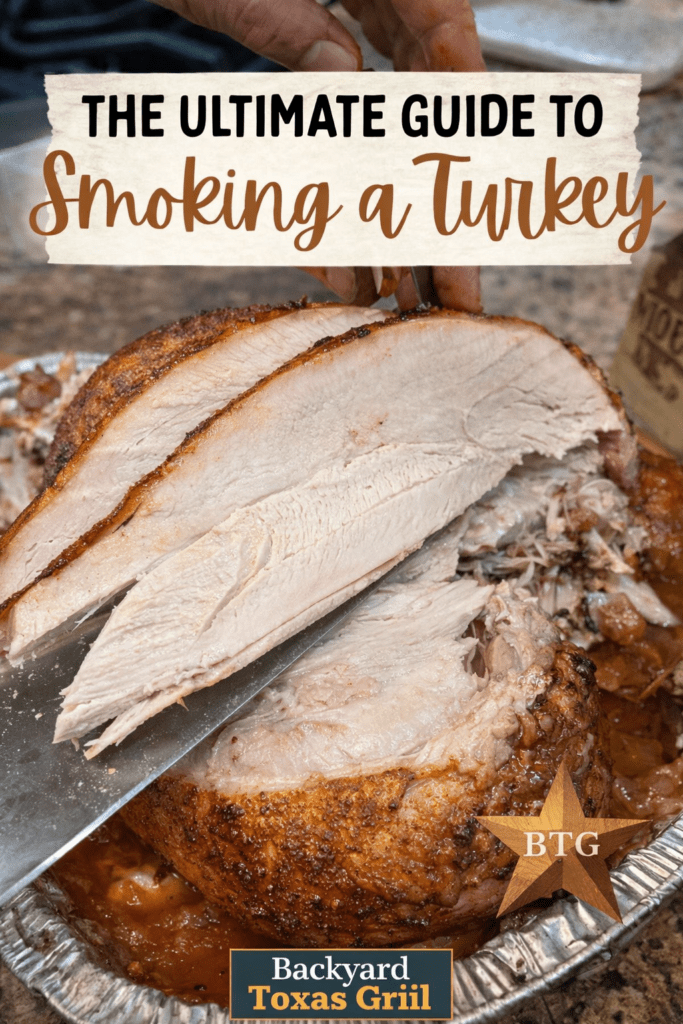
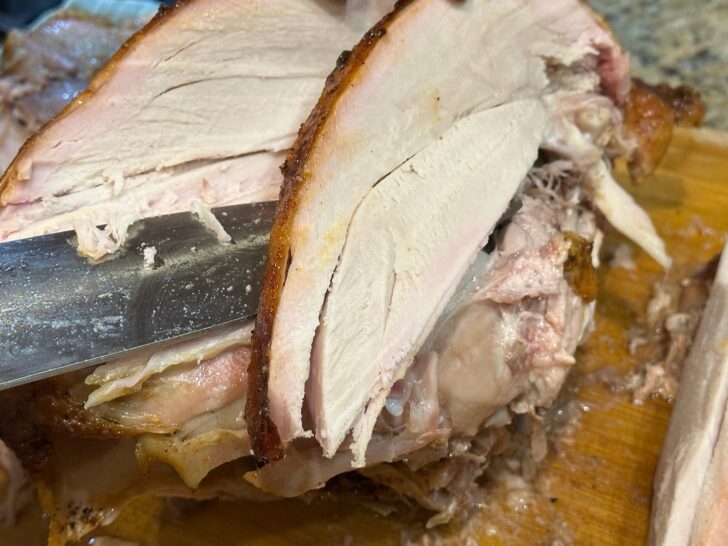
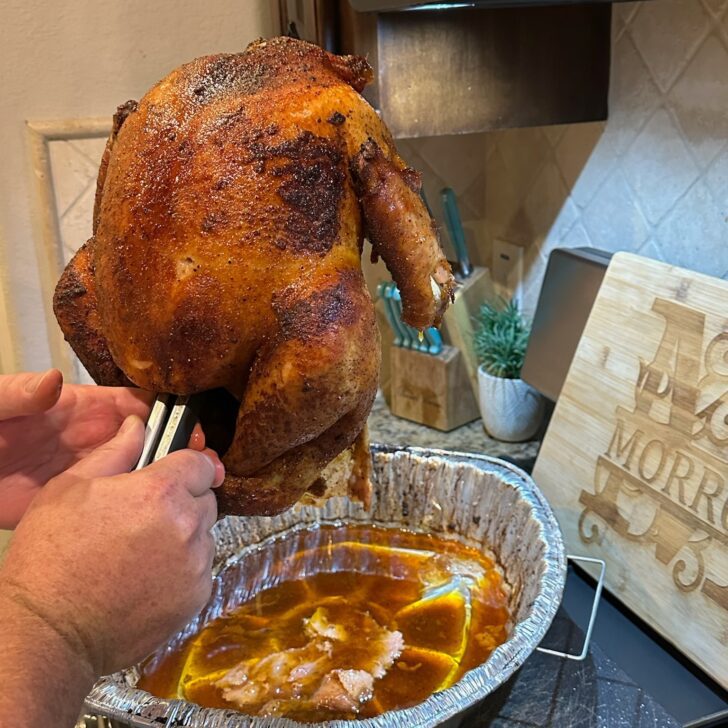
Carving Like a Boss
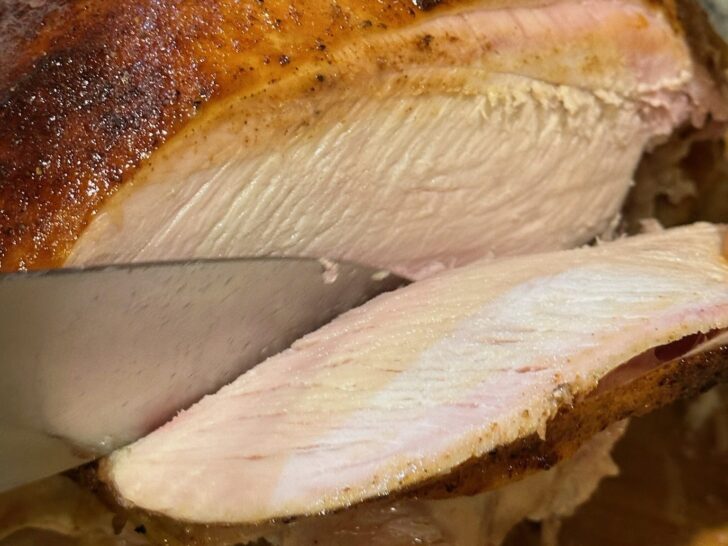
Carving isn’t just hacking the bird until it looks like a crime scene. A few simple tips help keep slices juicy and pretty.
- Remove the legs and thighs first.
- Then wings.
- Cut the breast away from the breastbone in two large pieces.
- Slice the breast against the grain so each piece is tender.
Arrange on a platter and spoon a little pan juice over the meat before serving. Not drowning—just a drizzle for shine and flavor.
Troubleshooting & “Uh-Oh” Moment
- Things happen. If one of these pitmaster nightmares strikes, here’s how to recover like a pro:
Turkey Finished Too Early?
- Wrap loosely in foil and hold in a dry cooler with towels for up to 3 hours. It’ll stay hot and juicy.
Skin Getting Too Dark?
- Tent lightly with foil the last hour.
Breast Done Before the Thighs?
- Remove the turkey, carve off the breasts, and return the rest to the smoker.
Not Enough Smoke Flavor?
- Add wood chunks for the first half of the cook only. Turkey absorbs smoke best early on.
Frequently Asked Questions
You can if you want faster cook time and even heat, but it changes presentation. This guide sticks to whole bird smoking.
Nope. Save yourself the stress and keep the lid closed. If you want to spritz, do so lightly with apple juice halfway through—but it’s optional.
If the packaging says “enhanced with solution,” use less salt in your brine or choose a dry brine instead.
Don’t stuff a smoked turkey. It slows cooking and can cause food safety issues. Cook stuffing separately.
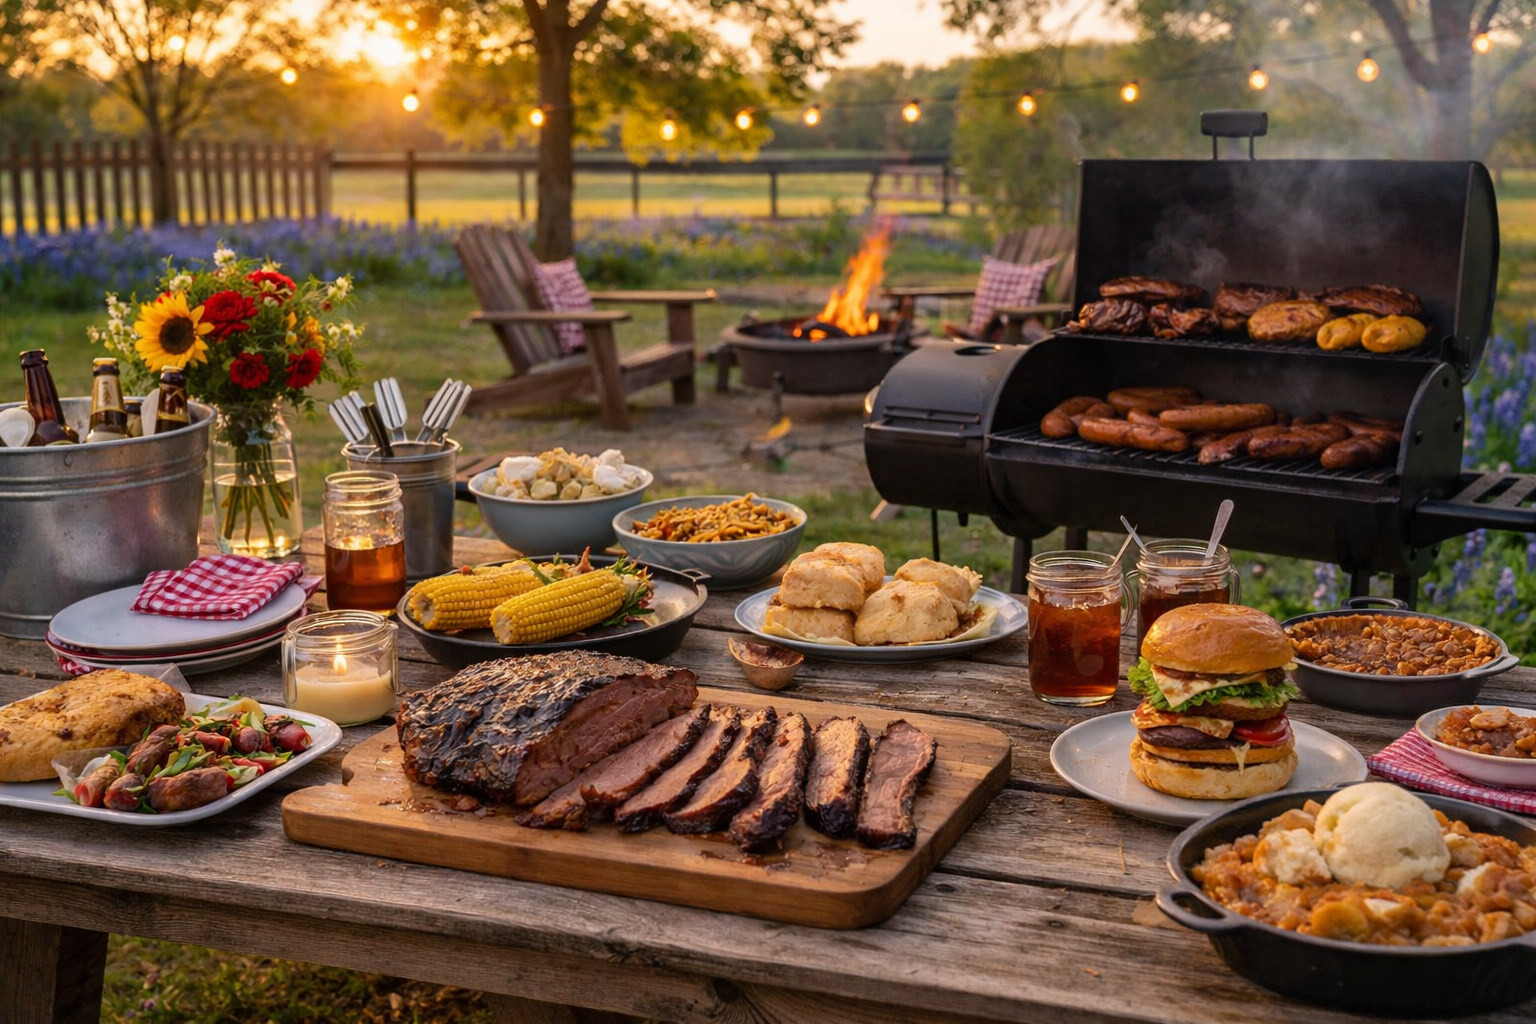
What to Serve with Smoked Turkey

- Smoked Cream Cheese with Cranberry Jelly
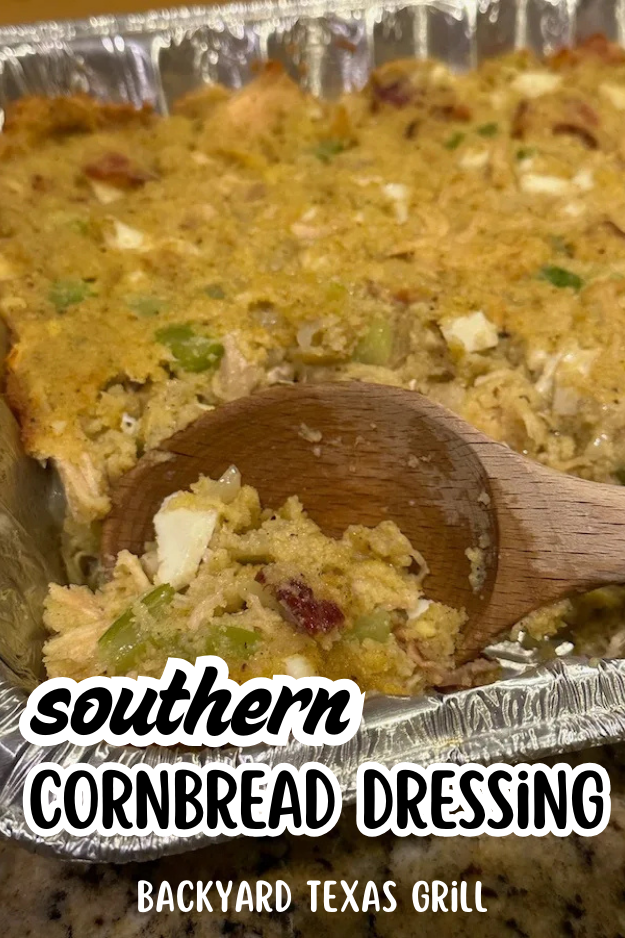
- Cornbread Dressing
- Smoked Mac & Cheese
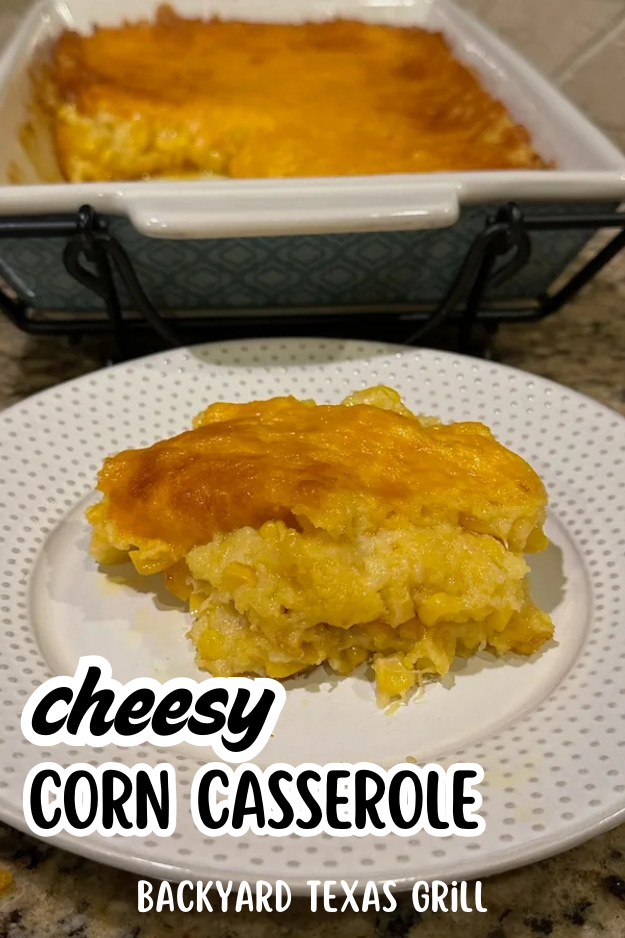
- Cheesy Corn Casserole
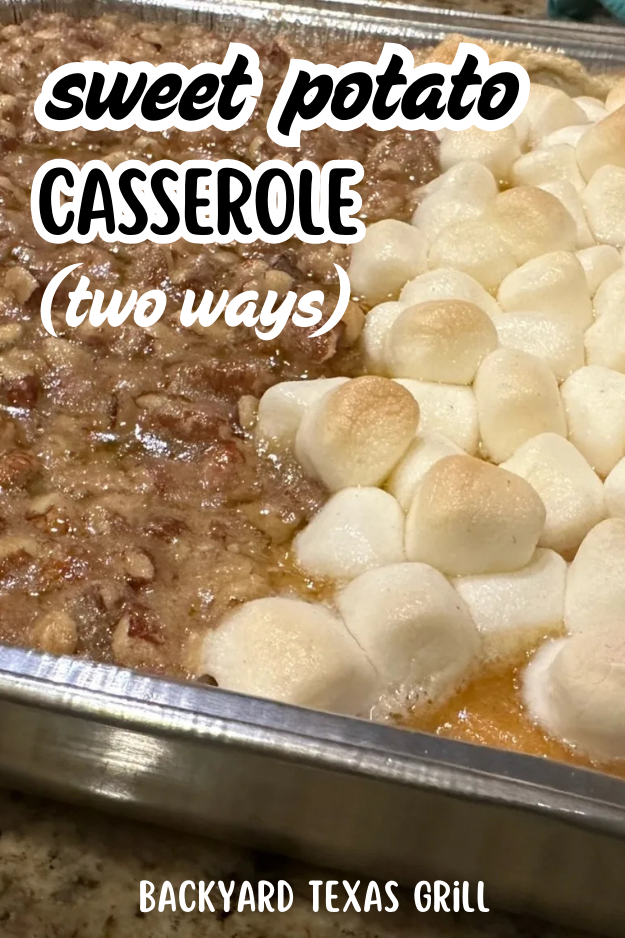
- Sweet Potato Casserole (Two Ways)
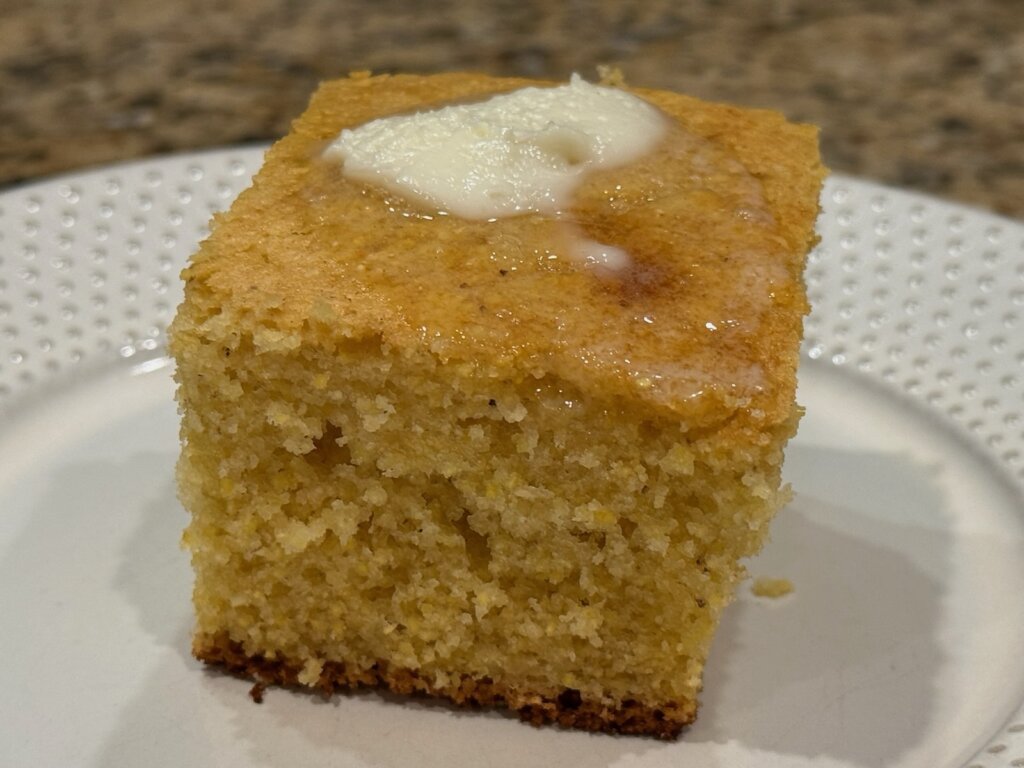
- Honey Cornbread
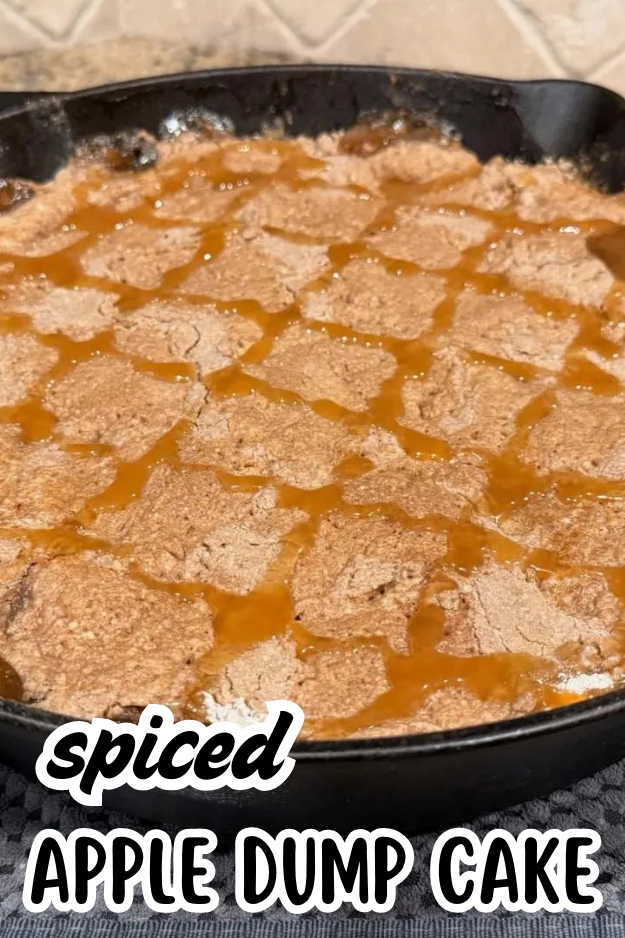
- Spiced Apple Dump Cake
Leftover Ideas (You're Gonna Love This!)
Don’t just make sandwiches—though those are a must. Encourage return traffic by linking to leftover turkey recipes on your site.
Here are some fun ideas!

- Smoked Turkey Pot Pie
- Turkey Sliders on the Grill
- Turkey and Dumplings
- Smoked Turkey Chili
Frequently Asked Questions
Our go-to is 350°F — and for good reason. Low-and-slow temperatures like 225°F produce rubbery skin that no one wants on Thanksgiving. At 350°F you still get plenty of smoke flavor, the skin crisps up beautifully, and the cook time is more manageable. If your smoker struggles to hold 350°F, aim for 325°F and add a little extra time.
At 350°F, plan on roughly 12–15 minutes per pound. A 12-pound bird takes about 2 to 2.5 hours; a 16–18 pound turkey takes around 3.25 to 3.75 hours. That said, cook to temperature — not time. Every smoker, every bird, and every weather condition is different.
The breast should reach 160–165°F and the thigh around 170°F. Always use a reliable meat thermometer — guessing doneness on a turkey is how you end up with a dry bird or a food safety situation. Pull it from the smoker, tent loosely, and the temperature will carry over a few degrees while it rests.
Stick to mild, sweet woods: apple, cherry, and pecan are the top three. They complement the turkey without overpowering it. Avoid heavy woods like mesquite or strong hickory — they can make the meat taste bitter. For a holiday turkey, apple or cherry also gives the skin a gorgeous mahogany color.
You don't have to, but you really should. Wet brining — soaking the turkey in a salt-and-sugar solution for 12–24 hours — is the single best thing you can do for juicy meat. If you're short on time or fridge space, a dry brine (rubbing with kosher salt and resting uncovered in the fridge overnight) is a solid alternative. Skipping brine entirely means more work to keep the breast from drying out.
Yes, but adjust your salt. If the packaging says "enhanced with up to X% solution," the turkey is already salted inside. Use a dry brine with less salt (or no salt), or skip brining altogether and focus on seasoning the outside. Over-salting an already-brined bird is a common mistake.
No — don't stuff a smoked turkey. Stuffing inside the cavity slows the cook time dramatically and can create food safety issues (the stuffing needs to reach 165°F, which means the turkey often overcooks before it gets there). Cook your dressing separately — it'll be better anyway.
Three things work together: dry the skin thoroughly before seasoning (moisture is the enemy of crispiness), cook at 350°F (low temps steam the skin instead of crisping it), and don't wrap it in foil during the cook. If the skin starts getting too dark toward the end, a light foil tent for the last hour protects it without losing the crispiness you've built up.
At least 30 minutes — ideally 45 to 60. Resting lets the juices redistribute throughout the meat so they stay in the bird when you slice it, not on the cutting board. Tent the turkey loosely with foil while it rests; don't wrap it tightly or you'll steam the skin soft. If your turkey finishes early, you can hold it in a dry cooler wrapped in towels for up to 3 hours and it'll stay hot and juicy.
Wrap it loosely in foil, then place it in a dry cooler lined with kitchen towels. This holds the heat surprisingly well — up to 3 hours — without drying the meat out. It's actually a great trick for Thanksgiving when you're juggling a lot of dishes at once and need a buffer window before serving.
Before You Go — Don’t Miss These!
If you want to master holiday smoking, check out next:
- Ultimate Guide to Smoking a Ham (coming soon)
- Smoked Turkey Recipe (Step-by-Step with Photos)
Final Thoughts from Zach

If you’ve made it this far, you’re officially part of the Backyard Texas Grill family. Smoking a turkey shouldn’t feel like rocket science—it’s just good food, good smoke, and a whole lot of love shared around the table.
Try it once, take notes, tweak what you like, and soon you’ll be the person your friends text every November:
“Hey, can you walk me through smoking a turkey real quick?”
Bookmark this guide and come back to it every year. You’ve got this—and I’m cheering you on. Learn more about Zach!
Why not save some pictures to your Pinterest boards before you go?