Old-Fashioned Cast Iron Pumpkin Pie
Make an old-fashioned cast iron pumpkin pie with a flaky homemade crust and creamy spiced pumpkin filling. An easy, rustic Thanksgiving dessert!
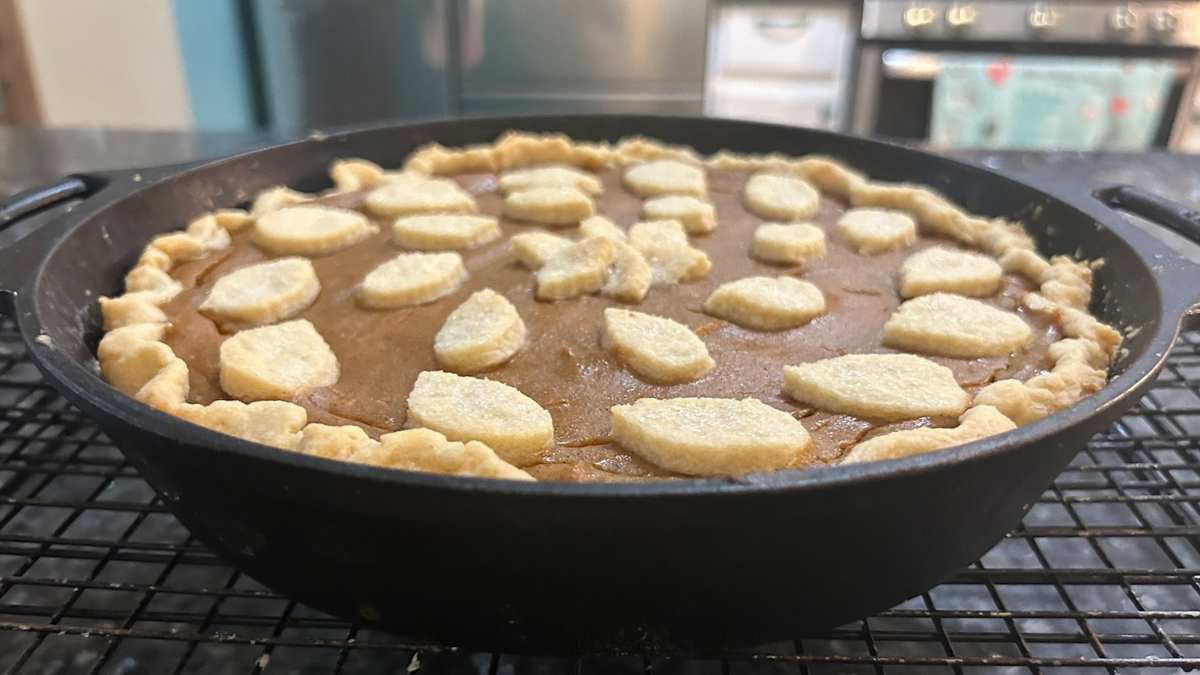
There’s something about pumpkin pie that says Thanksgiving like almost nothing else. This old-fashioned cast iron pumpkin pie starts with a flaky homemade shortening crust, gets filled with a simple spiced pumpkin custard, and bakes right in a cast-iron skillet.
And if homemade pie crust makes you nervous, stick with me. Pies aren’t exactly my specialty, either.
Why Am I Making Pumpkin Pie in September?
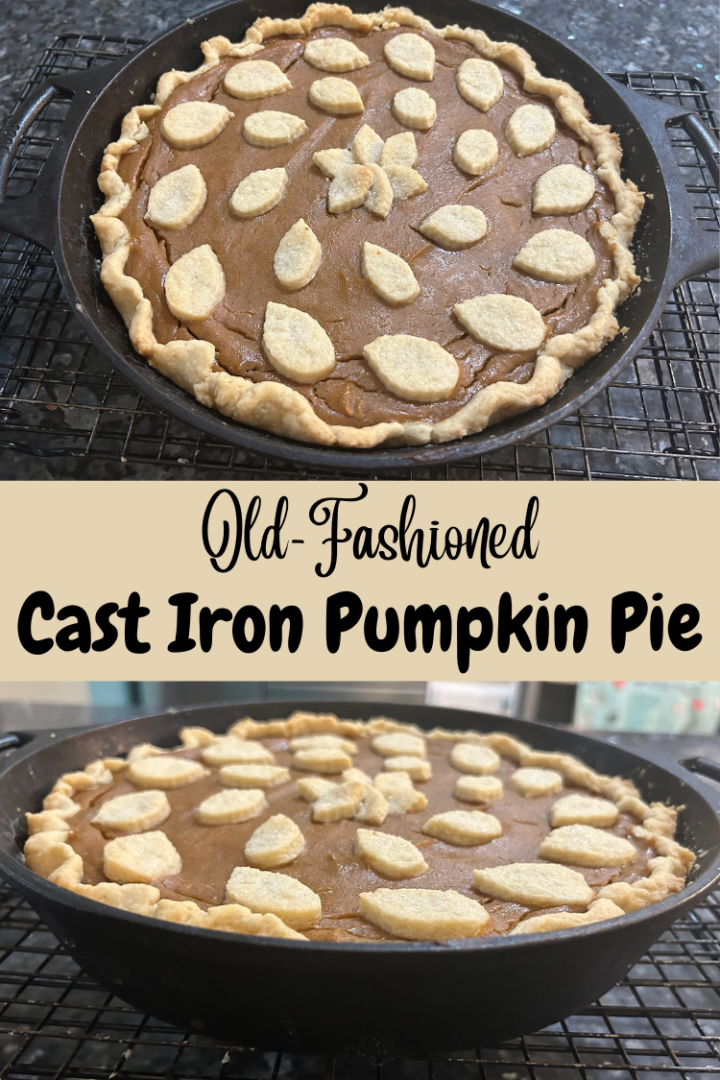
I have a confession to make. It’s September 5th, it’s still ridiculously hot outside here in Texas, and tonight I made a pumpkin pie. This was not the plan.
I’ve been working ahead on Thanksgiving content, creating and uploading all sorts of vintage Thanksgiving pins to Pinterest. Turkey, cornbread dressing, mashed potatoes, green bean casserole, homemade rolls—the foods we all expect to see on the holiday table.
And then I realized something that genuinely shocked me:
Backyard Texas Grill didn’t have a pumpkin pie recipe.
Even worse? I’d already made a pumpkin pie pin for Pinterest in anticipation of the holiday season coming up. Apparently in my imagination I had a pumpkin pie to advertise but in reality? Not so much.
Well, that wasn’t going to do.
As luck would have it, I had everything I needed in the house. Once I decided I was making a pie, I knew exactly which one I wanted to share: my mom’s old-fashioned pumpkin pie, complete with her homemade shortening crust.
And because this is Backyard Texas Grill, pulling out my cast-iron skillet just made sense.
So, while Texas was still firmly planted in summer, I rolled out pie dough and started thinking about Thanksgiving. I’ll take the finished pie to a friend tomorrow, but tonight all that really mattered was making sure you had a pumpkin pie recipe when Thanksgiving rolls around.
Because I couldn’t possibly keep creating all those Thanksgiving pins without giving you the pie!
An Old-Fashioned Pumpkin Pie in a Cast-Iron Skillet
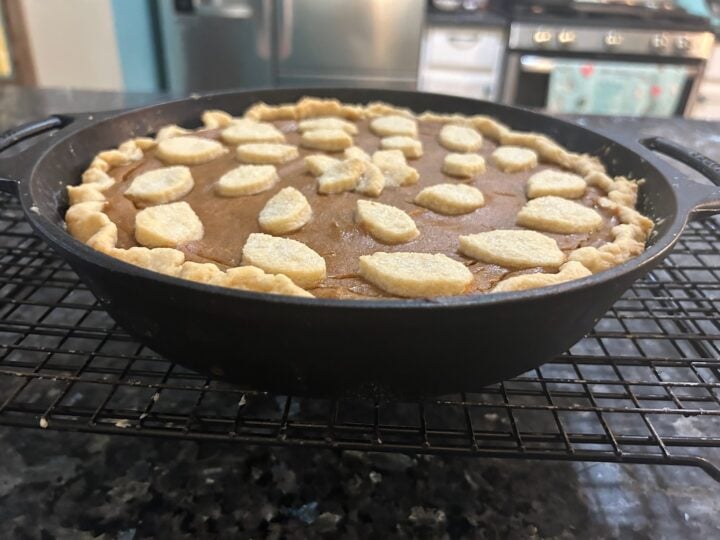
I love the way this pie looks in cast iron. It feels old-fashioned and homey, and Mom’s homemade crust seems especially appropriate here.
And let me tell you something right up front: I am not particularly good at making pies.
I bake all the time, but I’m far more confident with cakes, cookies, breads, and brownies than I am standing in front of a piece of pie dough with a rolling pin.
I've presented some pretty ugly pies over the years. Cracked crusts, uneven edges, questionable crimping—you name it. And do you know what I’ve learned?
Nobody cares as long as the pie tastes good.
Thanksgiving isn't a pie competition. Put a delicious homemade pie on the table with some whipped cream and nobody is going to inspect your crimping.
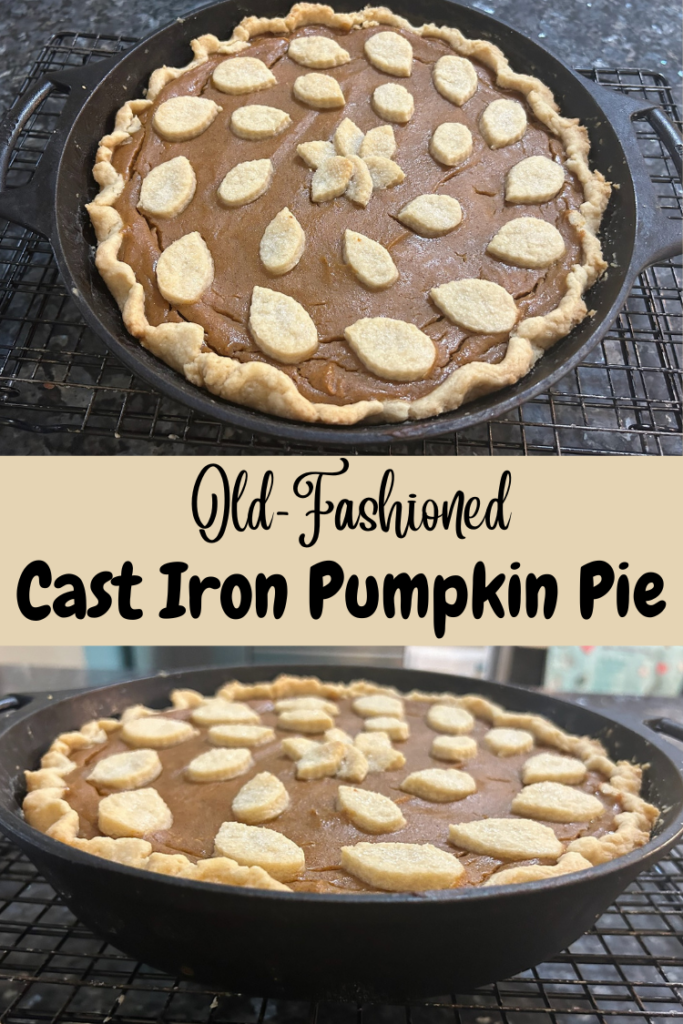
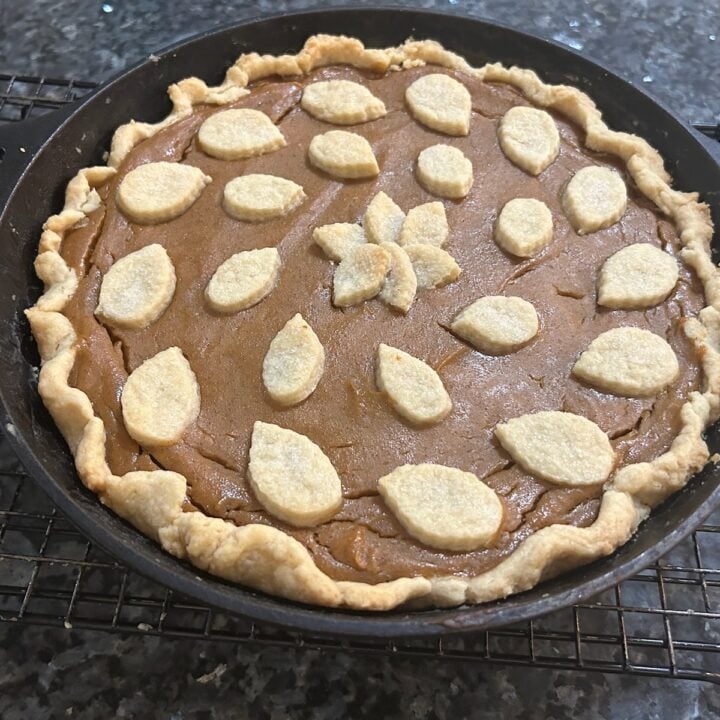
My crust tore while I was fitting it into the cast-iron skillet. I patched it. Some parts came higher up the skillet than others. I crimped what I could and kept going. And it turned into a beautiful pie.
So, if I can make this one, you can, too.
Can I Use a Store-Bought Pie Crust?
Absolutely! I wanted to use Mom’s homemade shortening crust because it’s special to me, but don't let homemade pastry be the thing that keeps you from making pumpkin pie.
Grab a refrigerated pie crust, fit it into your cast-iron skillet, and move right along.
The filling itself couldn't be much simpler. Pumpkin purée, eggs, sugar, evaporated milk, and warm spices do most of the work.
You don't need fancy pie-making skills. You just need a skillet and an oven.
Ingredients
You will find a full printable recipe card at the bottom of this post but here's a quick glance at what you will need. These are simple ingredients you might already have in your pantry or refrigerator.
For Mom’s Homemade Pie Crust
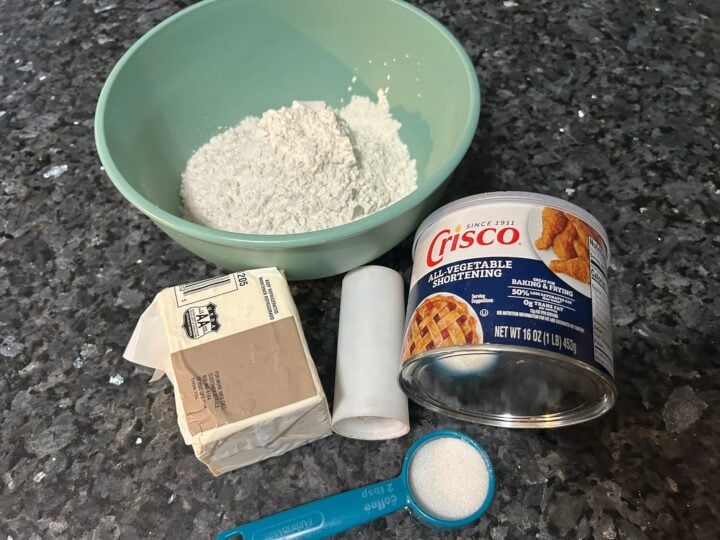
- 2 cups all-purpose flour
- 1 cup cold shortening (I used ½ cup shortening, ½ cup butter)
- ½ teaspoon salt
- 2 tablespoons granulated sugar
- Ice-cold water, as needed
A note about the water: Mom's written recipe calls for up to ½ cup ice water, but don't pour it all in! Start with a couple tablespoons and gradually add more, just until the dough comes together.
For the Pumpkin Filling
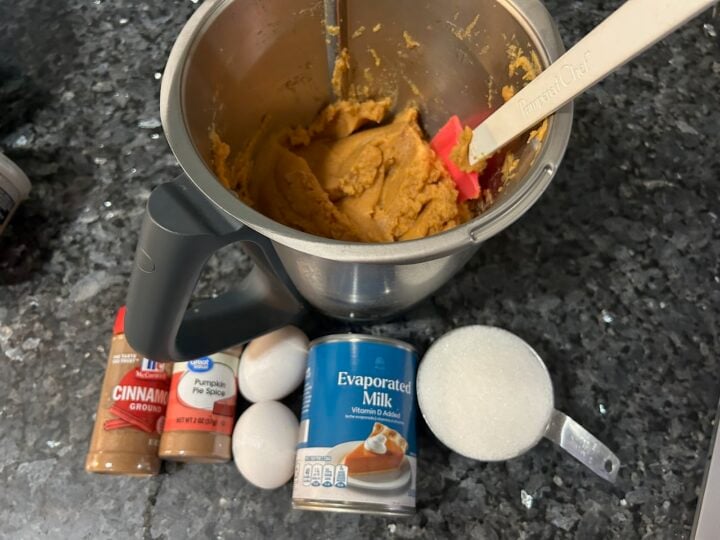
- 21 ounces pumpkin purée
- 2 large eggs
- 1 cup granulated sugar
- 6 ounces evaporated milk
- Cinnamon
- Nutmeg
- Pumpkin pie spice or your favorite combination of traditional pumpkin pie spices
- Vanilla extract, if desired
Be sure you're using pure pumpkin purée, not canned pumpkin pie filling.
How to Make Cast Iron Pumpkin Pie
This is easier than you might think, and there is no need to blind bake the crust.
Step 1: Make the Pie Dough
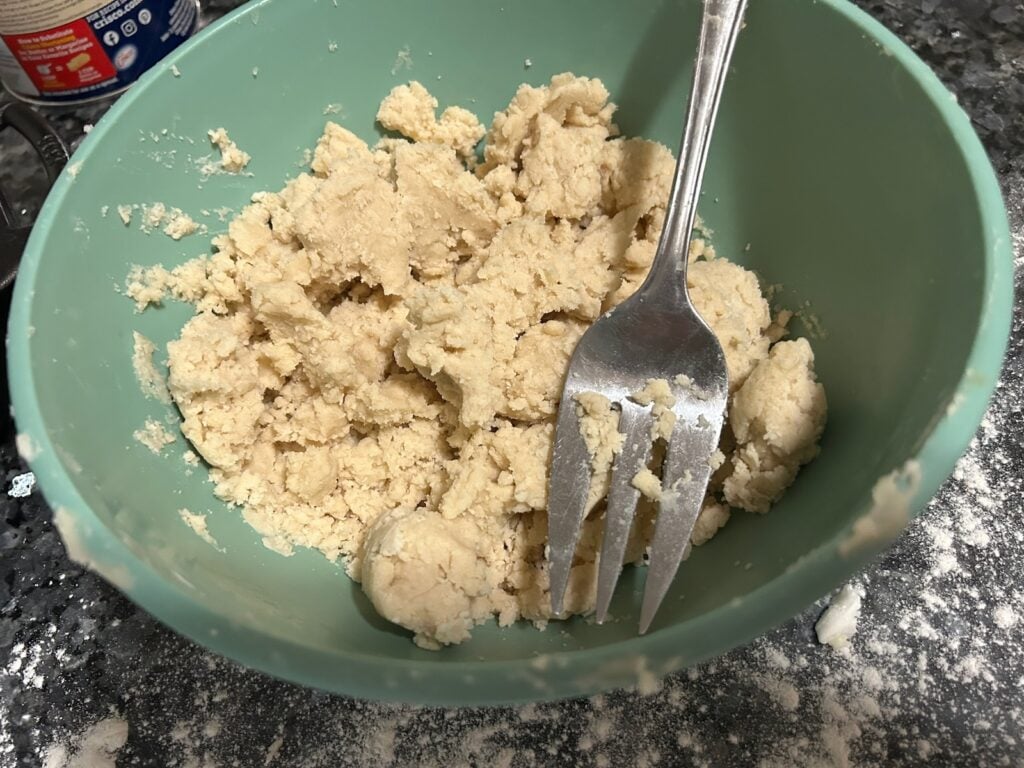
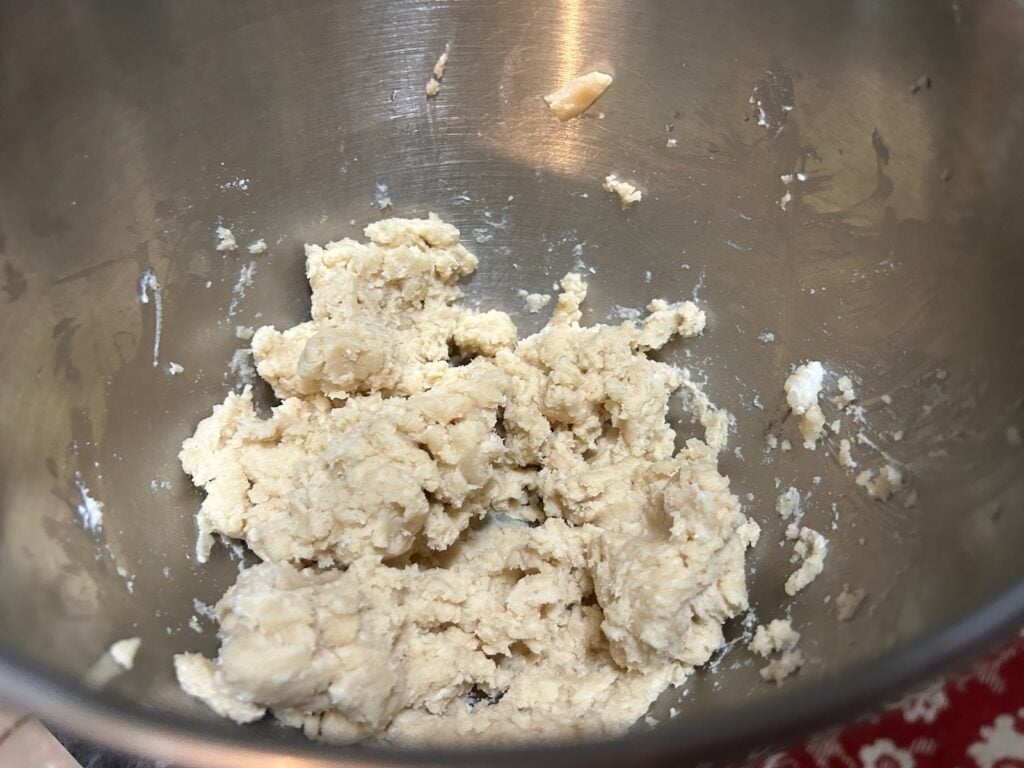
Place the flour, salt, and sugar in a large bowl and mix well.
Cut in the cold shortening until the mixture resembles coarse crumbs.
Begin adding ice-cold water a little at a time. Start with a couple tablespoons and add more only as necessary. Stop as soon as you can press the dough together and it holds its shape.
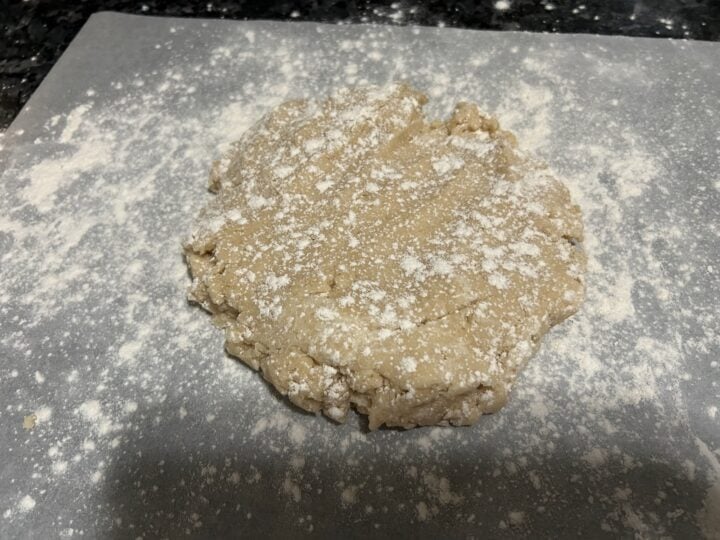
Try not to overwork it. Homemade pie dough doesn't need to look perfectly smooth.
Step 2: Prepare Your Cast-Iron Skillet
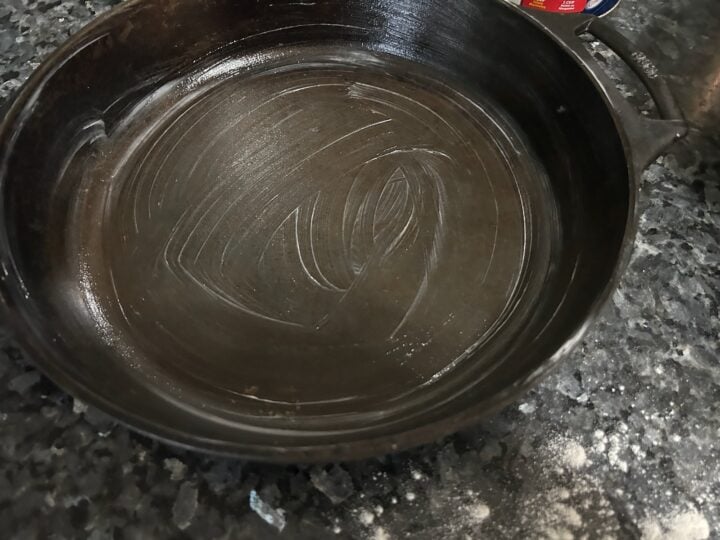
I used a 10-inch cast-iron skillet for this recipe.
Start with a completely cool skillet. Do not preheat it.
If your skillet is well seasoned, it won't need much preparation. I gave mine a very light coating of shortening—just enough to provide a little extra insurance against sticking.
You don't need parchment paper, flour, or cooking spray.
Step 3: Roll Out the Crust
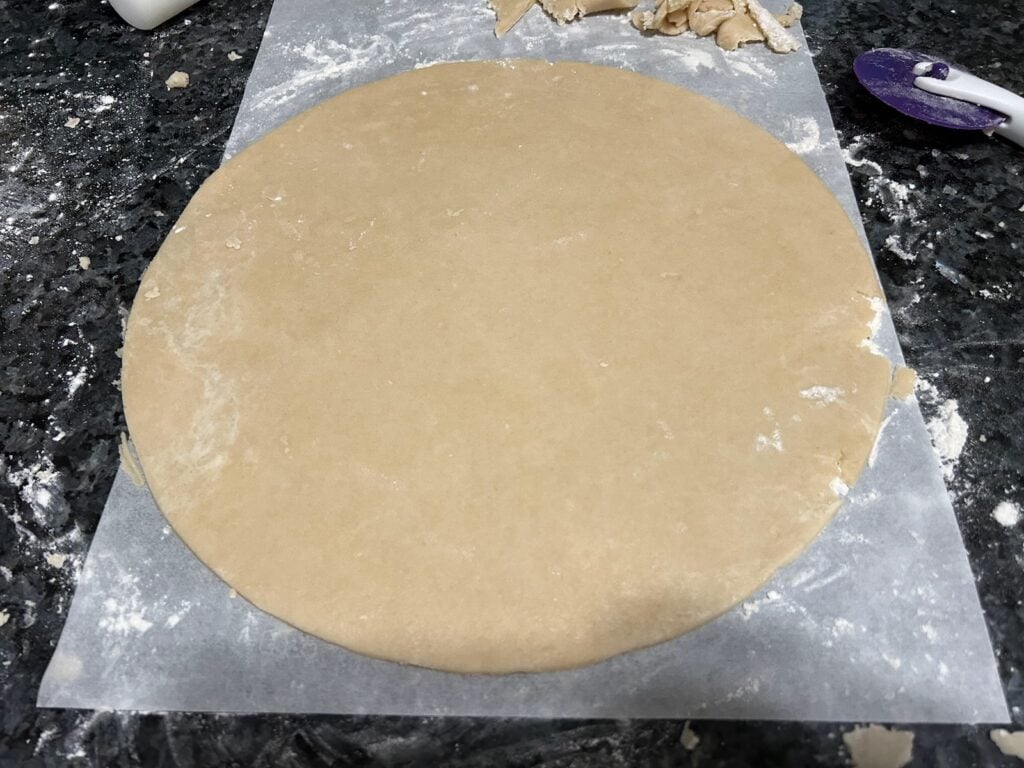
Roll the dough into a large circle, roughly 13–14 inches across.
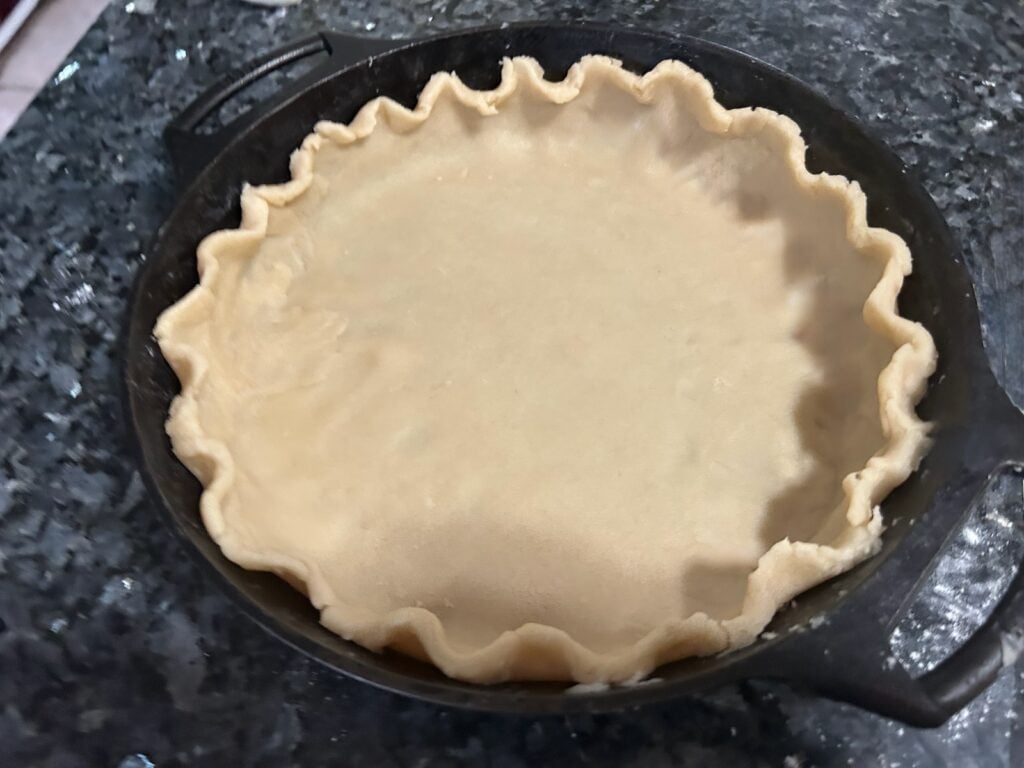
Gently transfer it to your skillet and ease it into the bottom and up the sides. Don't stretch the dough. And don't panic if it tears! Mine did.
Simply take a small scrap of dough, patch the tear, and gently press it into place with your fingers. The crust also doesn't need to reach all the way to the top of the skillet.
Most importantly, don't poke holes in the crust. We're adding a wet custard filling, so we want that pastry intact.
Crimp the exposed edge however you like.
What About Those Little Leaves?
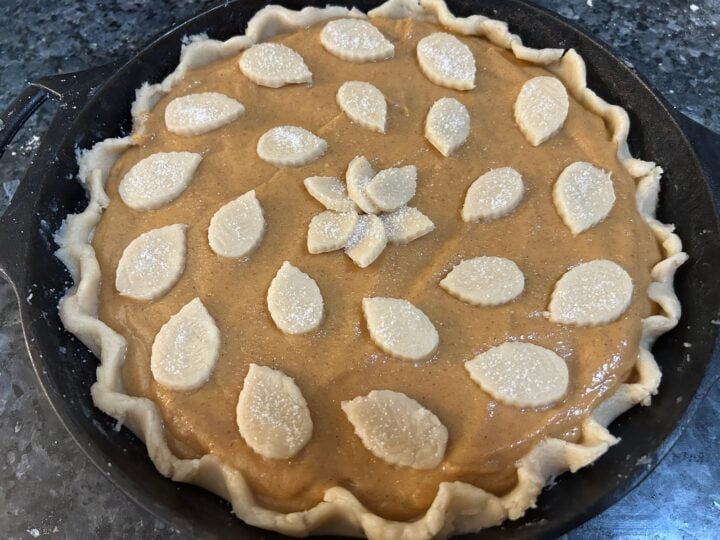
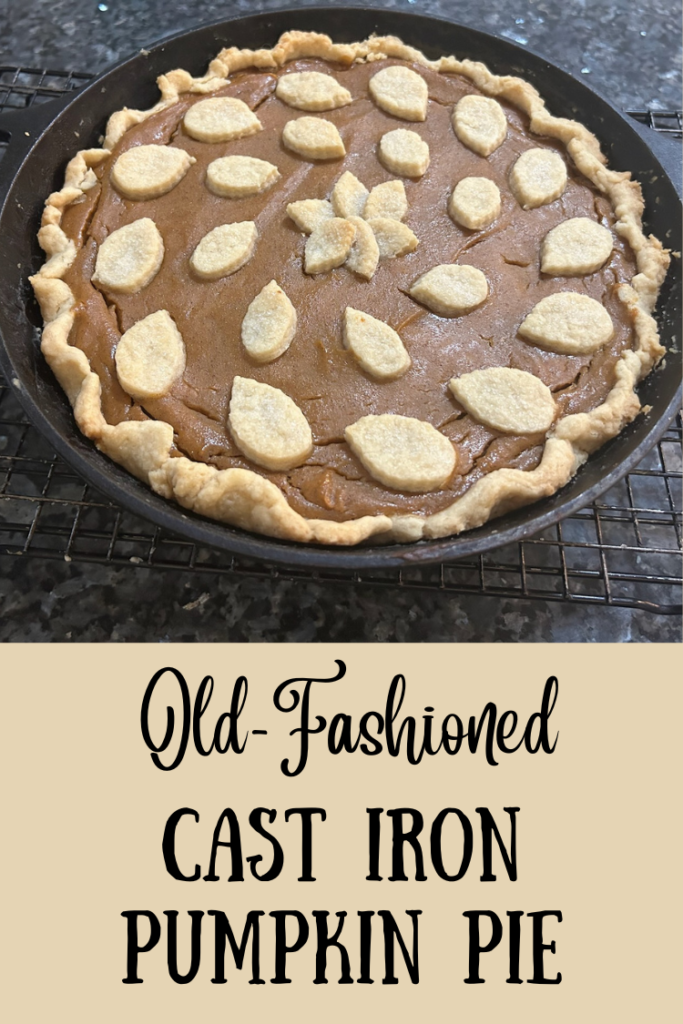
After fitting the crust into my skillet, I had some dough left over. Rather than throw it away, I rolled it out and cut little leaves to decorate the top of the pie. They're completely optional.
Use a small cookie cutter if you have one, cut your own leaves, or leave the pie completely undecorated. You could even turn leftover scraps into cinnamon-sugar pie-crust cookies.
If you do add pastry decorations, I recommend brushing them lightly with egg wash before sprinkling them with sugar. They'll develop more golden color as they bake.
Make the Pumpkin Filling
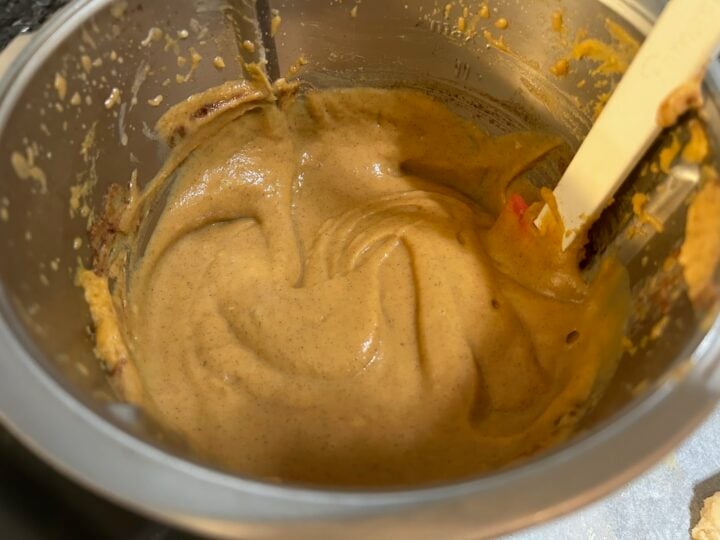
In a large bowl, whisk together the pumpkin purée, eggs, sugar, evaporated milk, and spices until smooth and well combined.
Pour the mixture directly into the unbaked crust.
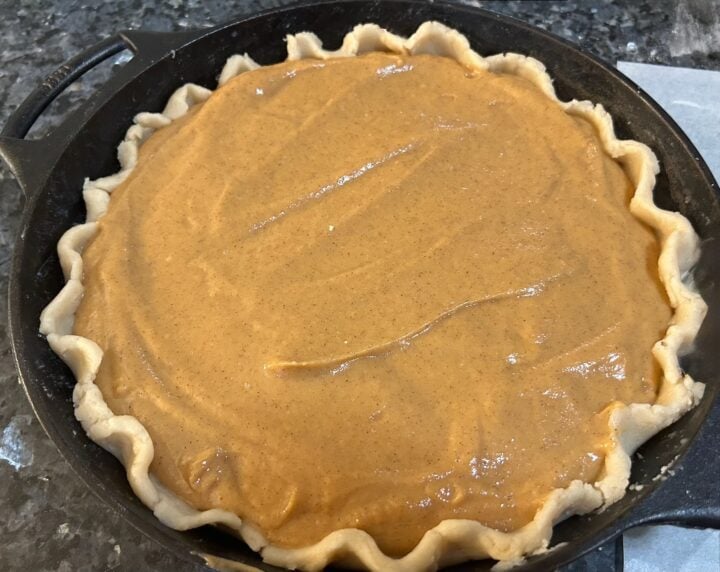
Don't overfill the skillet. Leave a little visible crust above the filling so the custard can't spill over and work its way between the crust and skillet.
Arrange your pastry leaves on top, if using.
How to Bake Pumpkin Pie in Cast Iron
Place an oven rack in the lower third of your oven and preheat to 425°F.
Place the assembled pie—cool skillet and all—into the hot oven.
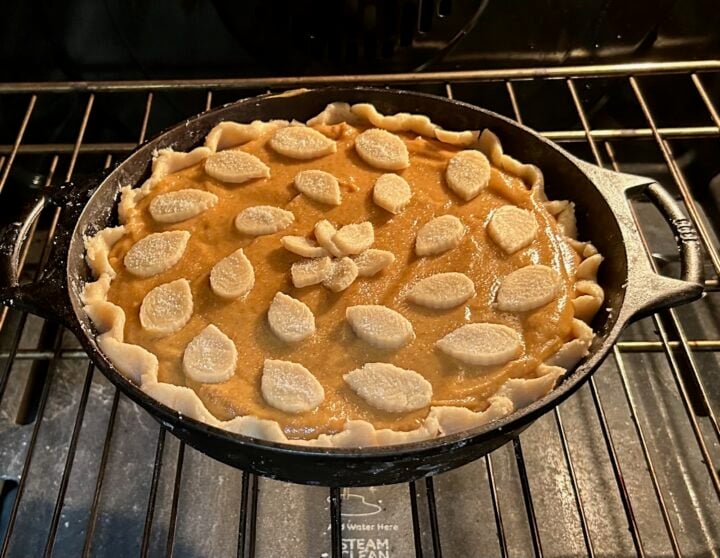
Bake at 425°F for 15 minutes.
Without removing the pie from the oven, reduce the temperature to 325°F.
Continue baking for about 45 minutes, or until the filling is set around the edges but still has a slight jiggle in the center.
Don't wait for the entire center to become completely firm. Pumpkin custard continues setting as it cools, and cast iron holds a tremendous amount of residual heat.
If the crust begins browning too much before the filling is done, loosely shield the exposed crust with foil.
How Do I Know When Pumpkin Pie Is Done?
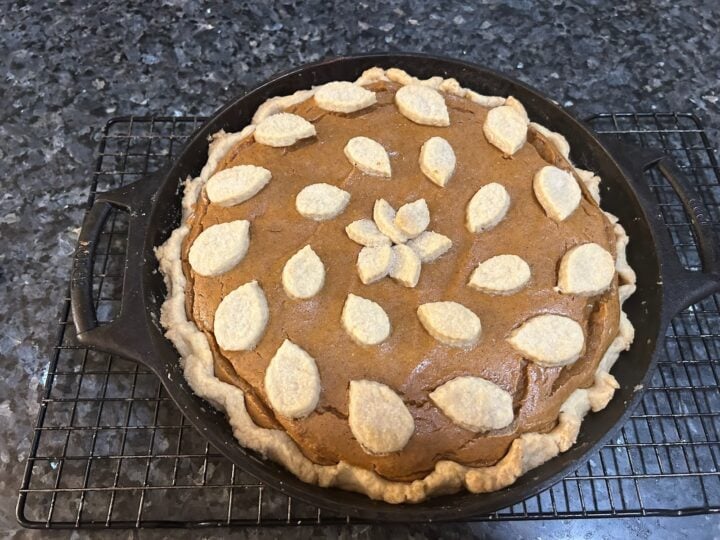
Don't stick a knife into the center of your beautiful pie! Instead, carefully give the skillet a gentle jiggle. The outer portion of the filling should be set. The center should move slightly as one soft area, but it shouldn't look wet, ripple, or slosh.
You should expect your hot-from-the-oven pie to be slightly puffed up. Don't worry! It will settle as it cools.
A few little cracks around the outside aren't the end of the world, either. Mine developed a few. Remember what I said about ugly pies? Nobody cares once you add the whipped cream. And those cracks are far less obvious after the pie cools and settles.
Let It Cool!
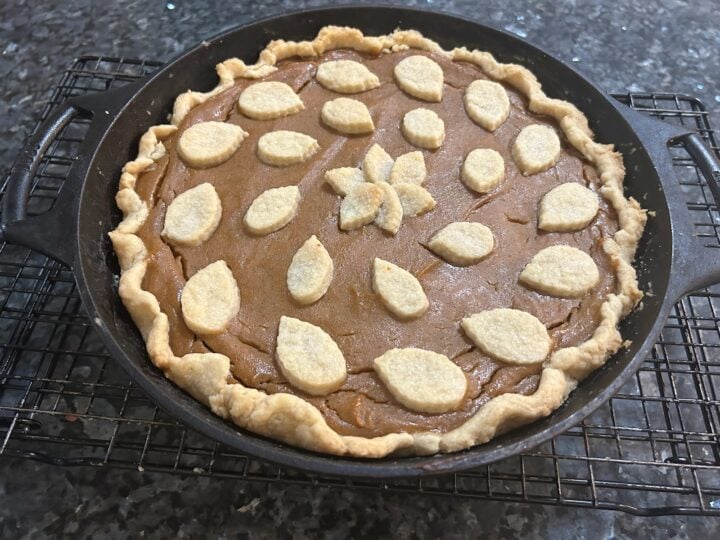
This part matters. Place the entire skillet on a cooling rack and allow the pie to cool for at least 2–3 hours before attempting to slice it.
Don't cover the hot pie. Trapped steam can create condensation and soften that beautiful crust.
For especially clean slices, allow the pie to cool completely and then refrigerate it before cutting. Serve it right from the cast-iron skillet.
Can I Make This Pumpkin Pie Ahead of Time?
Yes! In fact, pumpkin pie is an excellent make-ahead Thanksgiving dessert.
Bake it the day before, allow it to cool completely, and refrigerate it. Once chilled, cover it loosely.
That means one less thing competing for precious oven space on Thanksgiving Day.
Can I Make This Pumpkin Pie on the Grill?
You can. Set up your grill for indirect heat and use it like an outdoor oven.
Heat the grill to approximately 425°F and bake the pie over indirect heat for about 15 minutes. Reduce the temperature to approximately 325°F and continue cooking until the filling is set around the edges and slightly jiggly in the center.
Because grills fluctuate much more than indoor ovens, use the appearance of the filling rather than the clock as your primary guide.
Note: I tested this recipe using the oven method. Outdoor cooking times will vary depending on your grill.
Want to Add a Little Smoke?
Now here's an idea that's especially appropriate for Backyard Texas Grill. You don't have to cook the entire pie on your smoker to give it a hint of wood-fired flavor.
Bake the pie in the oven according to the recipe, but during the final 10–15 minutes, carefully transfer the cast-iron skillet to a smoker running at approximately 325°F.
Use a mild wood such as apple, cherry, maple, or pecan. Pumpkin pie has delicate flavors, so you don't want to overwhelm those warm spices with heavy smoke.
Finish cooking until the outer filling is set and the center has that characteristic gentle jiggle.
It's an easy way to give your Thanksgiving pumpkin pie a little backyard personality without giving up the reliability of the oven-baked method.
Variations and Substitutions
There are plenty of ways to make this pie your own. Use a refrigerated pie crust instead of homemade, leave off the pastry leaves, or change the decorative crust to suit the season.
You can also adjust the spice mixture. Some people love a heavily spiced pumpkin pie, while others prefer cinnamon to take center stage.
For an especially pretty Thanksgiving presentation, serve each slice with freshly whipped cream and a light dusting of cinnamon.
Planning Your Thanksgiving Feast? Don't Forget the Pie!
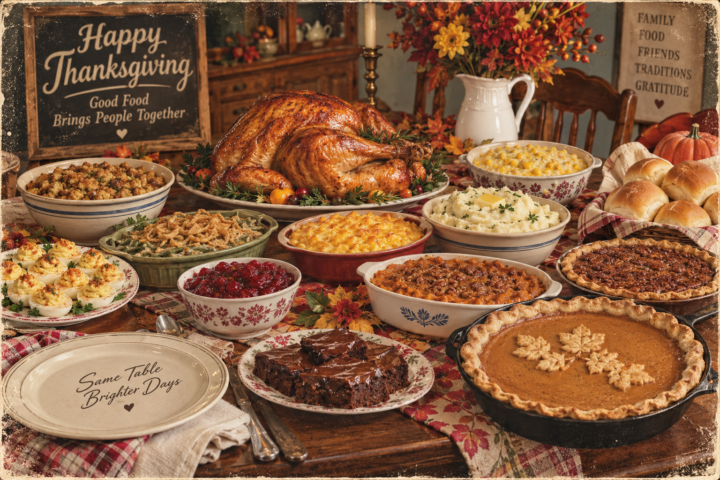
If you're already thinking about pumpkin pie, there's a pretty good chance you're thinking about the rest of Thanksgiving dinner, too.
The good news is that we've been thinking about it right along with you.
In fact, we've come a long way since last Thanksgiving. These days, you can put together almost the entire Thanksgiving table using recipes right here on Backyard Texas Grill.
Start With the Deviled Eggs
Because it's Thanksgiving. I'm pretty sure that's the law. Our Deviled Eggs are exactly the sort of appetizer people grab while they're wandering through the kitchen asking how much longer until dinner. Add one or two of your favorite appetizers and try not to fill up before the turkey arrives.
The Main Event
Of course, Thanksgiving dinner needs a beautiful Ultimate Turkey right in the middle of the table. That's the centerpiece. Everything else gets built around it.
Load Up on Those Thanksgiving Sides
This might be my favorite part of Thanksgiving dinner. Add Traditional Southern Cornbread Dressing, Green Bean Casserole, Homemade Rustic Mashed Potatoes, Southern Baked Macaroni and Cheese, Sweet Potato Casserole, Honey Cream Corn, and a basket full of Homemade Dinner Rolls.
Now we're talking.
And Save Room for Dessert
Start with this Old-Fashioned Cast Iron Pumpkin Pie, of course.
But Thanksgiving is one of those rare occasions when I think having more than one dessert is practically a requirement. Our Cast Iron Skillet Pecan Pie makes a perfect companion. We've also got a delicious Pumpkin Spice Skillet cake that's so easy to whip up.
From deviled eggs to pumpkin pie, we've pretty much got your Thanksgiving table covered.
And if you're planning the whole meal, be sure to visit our Thanksgiving Recipe Roundup, where you'll find even more recipes to help you put your holiday menu together.
More Helpful Tips for a Great Cast Iron Pumpkin Pie
- Don't worry about making the crust perfect. Patch tears with scraps of dough and keep going.
- Don't preheat the skillet before adding the crust. Start with cool cast iron.
- Don't dock or blind bake the crust for this recipe.
- Keep an eye on the pie rather than relying exclusively on baking time. Ovens and cast-iron skillets vary.
- And above all, remember that Thanksgiving dinner isn't a pie competition.
Make the pie. Put it on the table. Add whipped cream. Nobody is grading your crust.
Thanks for Stopping By!
If you make this delicious cast iron pumpkin pie and love it, please leave a comment or review. And before you go, please pin some photos to your Pinterest boards. We love it when our readers share our recipes.
About the Baker
Hi, I’m Janice! I’m a lifelong baker, recipe developer, and storyteller who believes some of the best recipes are the ones that bring people back to the family table. I especially love taking old-fashioned family favorites—like my mom’s homemade pie crust—and finding simple ways to share them with a new generation of home cooks. I’m also proof that you don't have to be an expert pie maker to put a homemade pie on the Thanksgiving table!
Old-Fashioned Cast Iron Pumpkin Pie
his old-fashioned cast iron pumpkin pie features a creamy, warmly spiced pumpkin custard baked inside a flaky homemade shortening crust. Baked right in a 10-inch cast-iron skillet, it's a rustic and beautiful Thanksgiving dessert that's easier to make than it looks. Use Mom's homemade crust or take a shortcut with refrigerated pie dough.
Ingredients
- Mom's Homemade Pie Crust
- 2 cups all-purpose flour
- 1 cup cold shortening
- ½ teaspoon salt
- 2 tablespoons granulated sugar
- Ice-cold water, added gradually as needed
- Pumpkin Pie Filling
- 21 ounces pure pumpkin purée
- 2 large eggs
- 1 cup granulated sugar
- 6 ounces evaporated milk
- Cinnamon
- Nutmeg
- Pumpkin pie spice or preferred pumpkin-pie spices
- Vanilla extract, optional
- Optional Decoration
- Leftover pie dough
- Egg wash
- Granulated or coarse sugar
Instructions
- Preheat the oven to 425°F with a rack positioned in the lower third of the oven.
- Combine flour, salt, and sugar for the crust. Cut in the cold shortening until the mixture resembles coarse crumbs.
- Add ice-cold water gradually, beginning with about 2 tablespoons. Continue adding small amounts only until the dough holds together. Do not automatically add the full amount of water.
- Very lightly coat the inside of a cool 10-inch cast-iron skillet with shortening.
- Roll the dough into approximately a 13–14-inch circle. Gently fit it into the skillet without stretching. Patch any tears with scraps of dough and bring the pastry up the skillet sides. Crimp the edge as desired. Do not dock or blind bake.
- Whisk together the pumpkin purée, eggs, sugar, evaporated milk, and spices until smooth.
- Pour the pumpkin mixture into the unbaked crust, taking care not to fill beyond the lowest portion of the crust.
- If desired, cut decorative leaves from leftover pastry. Arrange over the filling, brush lightly with egg wash, and sprinkle with sugar.
- Bake at 425°F for 15 minutes.
- Without removing the pie, reduce the oven temperature to 325°F and bake for approximately 45 minutes more, or until the edges are set and the center retains a slight jiggle.
- If the exposed pastry becomes too brown, shield it loosely with foil.
- Transfer the skillet to a cooling rack and cool the pie completely for at least 2–3 hours before slicing.
- Refrigerate leftovers.
Notes
Store-bought crust: A refrigerated pie crust can be substituted for the homemade pastry. Make sure you have enough dough to cover the bottom and come sufficiently far up the sides of a 10-inch skillet.
Crust tears: Don't start over! Press a small piece of dough over the tear and gently seal it with your fingers.
Pastry leaves: Completely optional. If using them, brushing with egg wash before baking will encourage better browning.
Smoker finish: For subtle smoke flavor, bake the pie in the oven as directed, then transfer the cast-iron skillet to a 325°F smoker for the final 10–15 minutes. Use a mild wood such as apple, cherry, maple, or pecan.
Doneness: Pumpkin pie should be set around the edges with a slight jiggle in the center. Don't wait until the entire filling is rigid.
Make ahead: Bake and cool the pie the day before serving. Refrigerate once completely cooled and cover after chilling.
Nutrition Information:
Yield: 8 Serving Size: 1Amount Per Serving: Calories: 712Total Fat: 35gSaturated Fat: 14gUnsaturated Fat: 21gCholesterol: 71mgSodium: 182mgCarbohydrates: 91gFiber: 4gSugar: 40gProtein: 10g
This does look so incredibly inviting and tempting
Visiting from Sweet Little Bluebird
My shares: Smoky Split Pea and Pork Hock Soup; Chocolate Lamington Coconut Squares and Jammy Berry Baked Apples
We now have two Linkies: SSPS and TFT at https://esmesalon.com/seniorsalonpitstop/
Those sound amazing! We will check out your recipes. Thanks for the visit and the comment:)