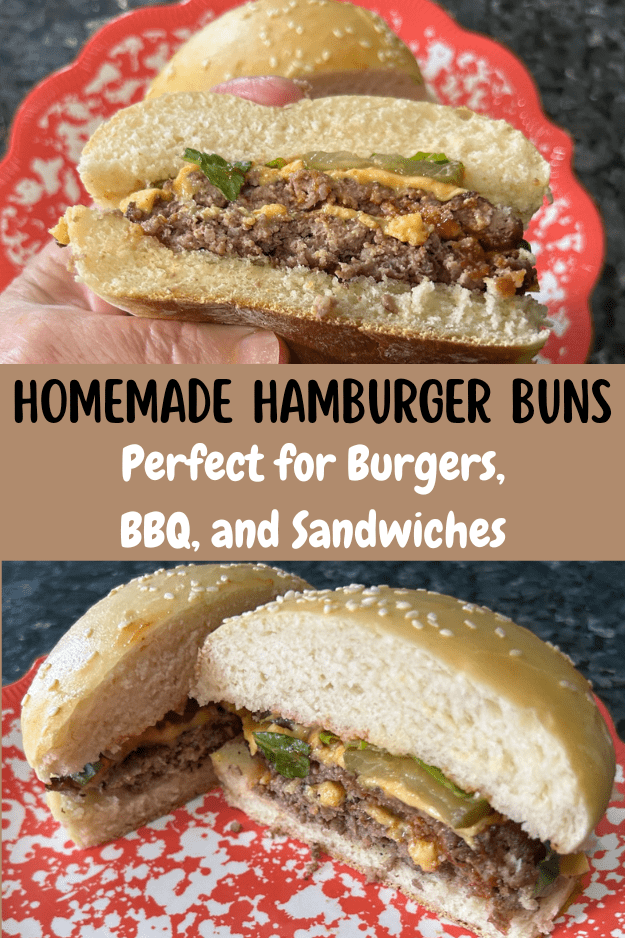
Soft, sturdy, and perfect for burgers, pulled pork, sloppy joes, and BBQ sandwiches, these homemade hamburger buns are easy to make and freezer-friendly.
If you’ve ever spent time grilling the perfect burger only to pile it onto a store-bought bun, this recipe is for you.
These homemade hamburger buns are soft, sturdy, and incredibly versatile. We originally developed them for backyard cheeseburgers, but after the first batch came out of the oven, we quickly realized they were just as good for pulled pork, sloppy joes, barbecue beef, teriyaki chicken sandwiches, and more.
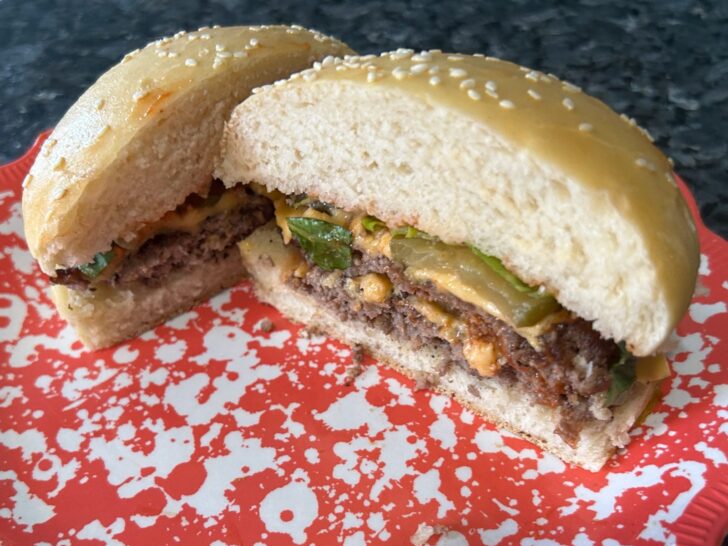
Unlike some ultra-soft hamburger buns that fall apart under juicy fillings, these have enough structure to hold up to hearty sandwiches while still remaining tender and flavorful.
Why You’ll Love These Homemade Hamburger Buns
- Perfect for burgers and cheeseburgers
- Strong enough for pulled pork and BBQ sandwiches
- Easy to make with simple ingredients
- Freezer-friendly
- Great for sandwich rolls and dinner rolls, too
- Beautiful golden color with classic sesame seeds
Ingredients
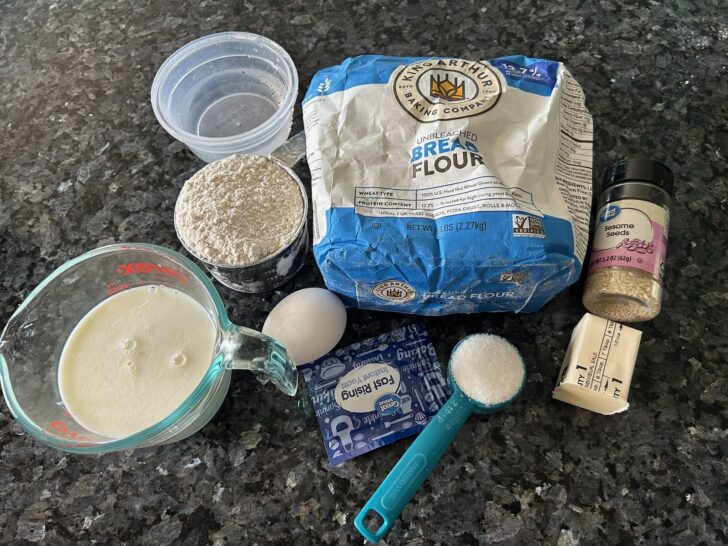
You will find a full printable recipe card at the bottom of this post but here’s a quick peek at what you’re going to need to make these delicious buns. These are simple ingredients you probably already have in your pantry or refrigerator.
- 1 cup milk
- 1 tablespoon vinegar or lemon juice
- ⅔ cup warm water
- 2 tablespoons granulated sugar
- 2½ teaspoons instant yeast
- 3 tablespoons softened butter
- 1 large egg
- 1 cup all-purpose flour
- 2¾ cups bread flour
- 1 teaspoon salt
For the Topping
- 1 egg
- 1 tablespoon water
- Sesame seeds
How to Make Homemade Hamburger Buns
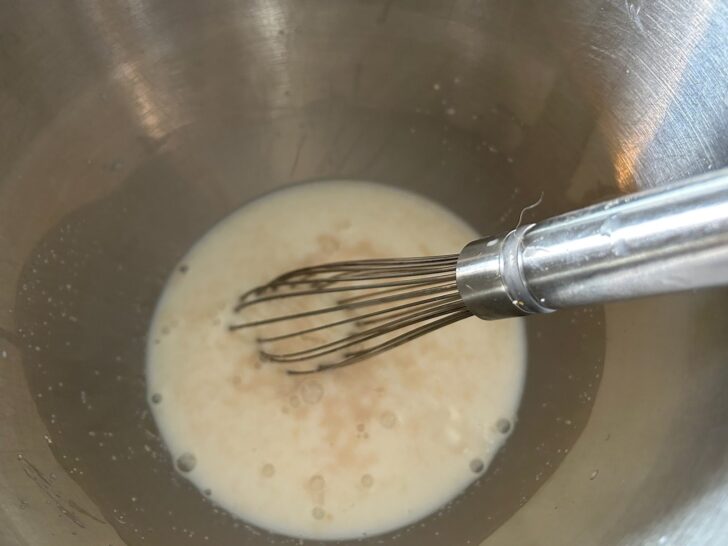
Combine the milk and vinegar (or lemon juice) and allow it to sit for several minutes.
In the bowl of a stand mixer, combine the milk mixture, warm water, sugar, and yeast. Allow the mixture to sit for about five minutes.
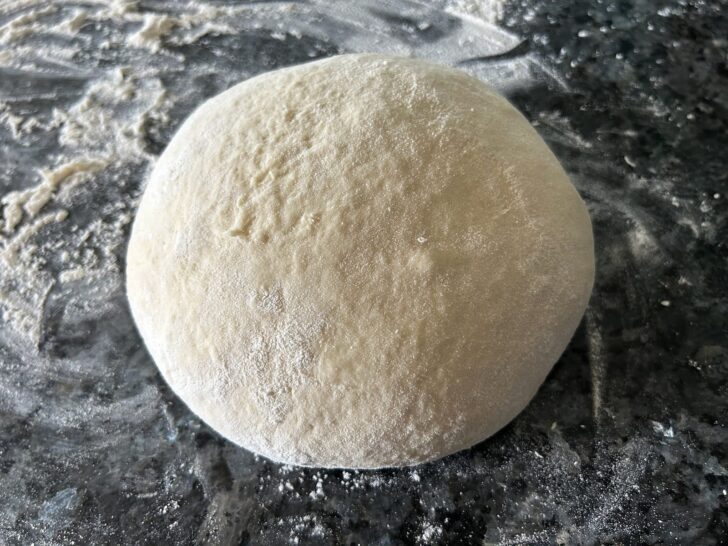
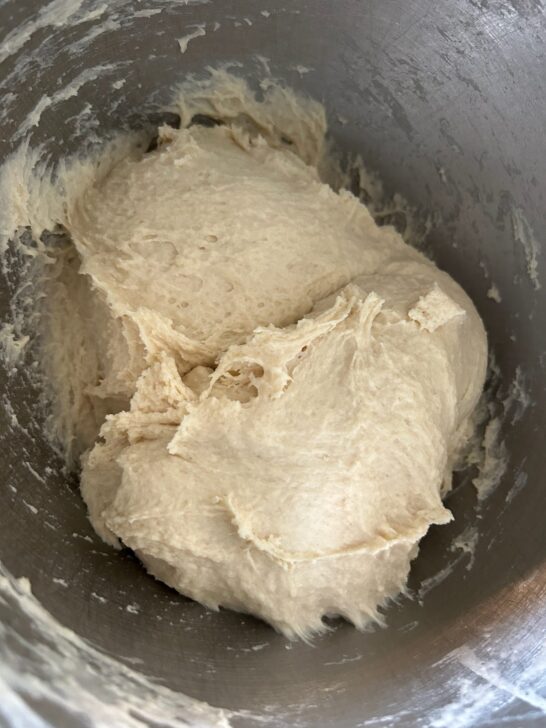
Add the butter, egg, flours, and salt. Mix with a dough hook until a soft dough forms.

Shape into a ball.
Transfer the dough to a greased bowl.
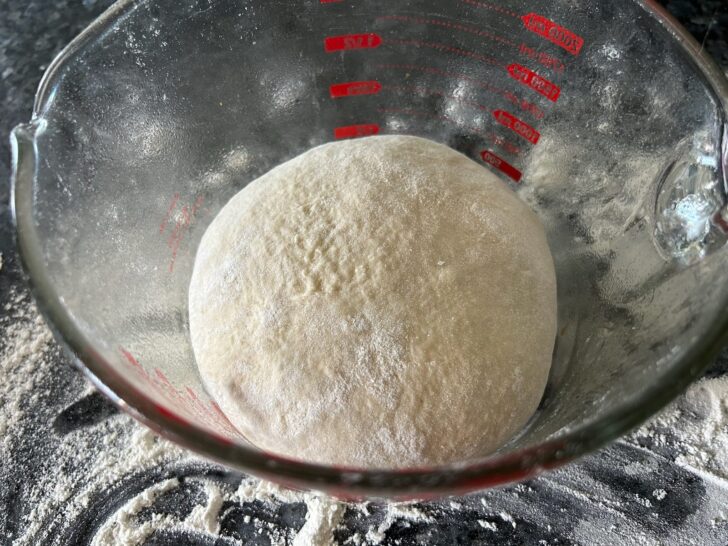
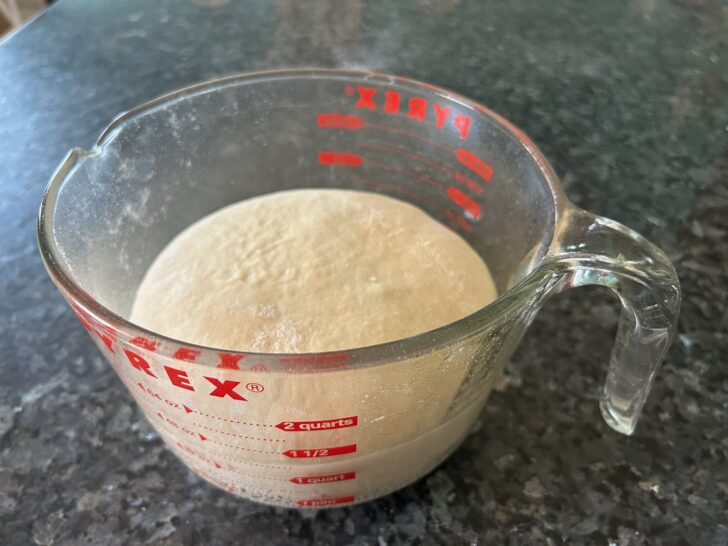
Cover, and allow it to rise until doubled in size, about one hour.
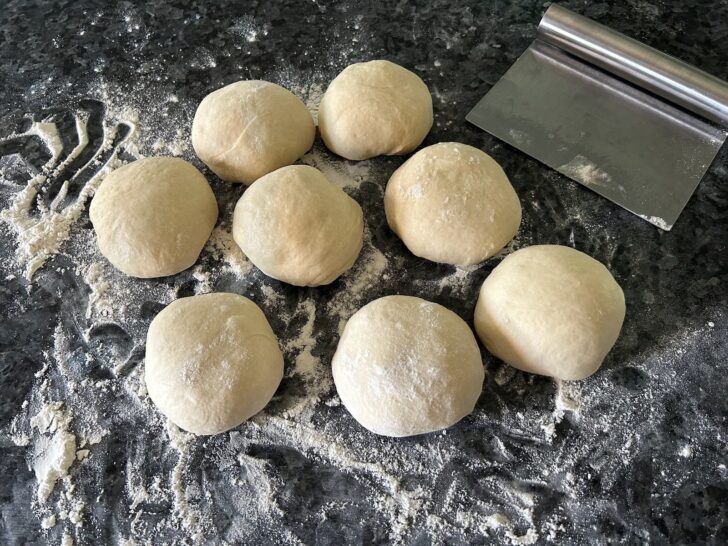
Punch down the dough and divide it into 8 equal portions.

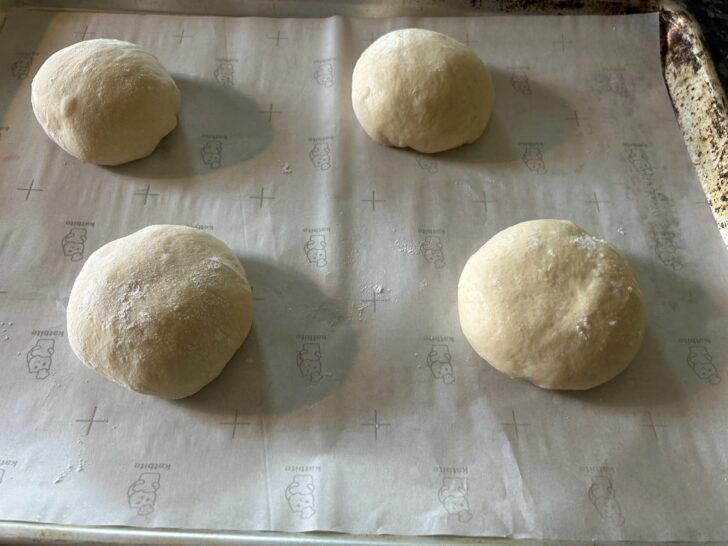
Shape each piece into a smooth ball.
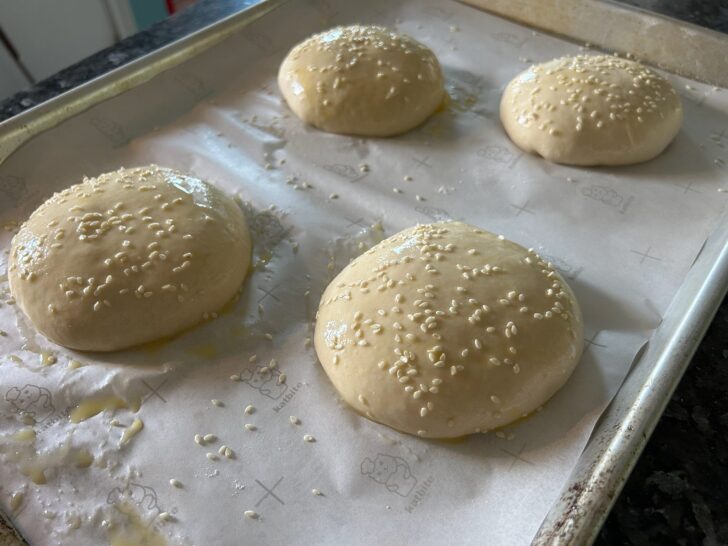
Place several inches apart on parchment-lined baking sheets.
Flatten each dough ball with your palm.
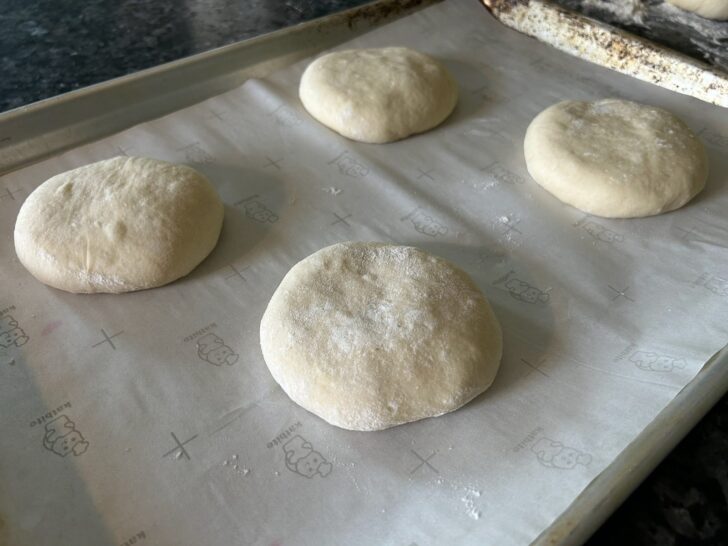
Hint: Flatten the dough balls more than you think you need to before the second rise. I learned during recipe testing that these buns rise beautifully in the oven. If you leave them too rounded, you’ll end up with very tall buns. For a more traditional burger-joint style bun, gently press each dough ball into a wide disk before proofing.
Cover and allow the buns to rise for 25–30 minutes.
Preheat oven to 350°F.
Whisk together the egg and water. Brush the tops with the egg wash.
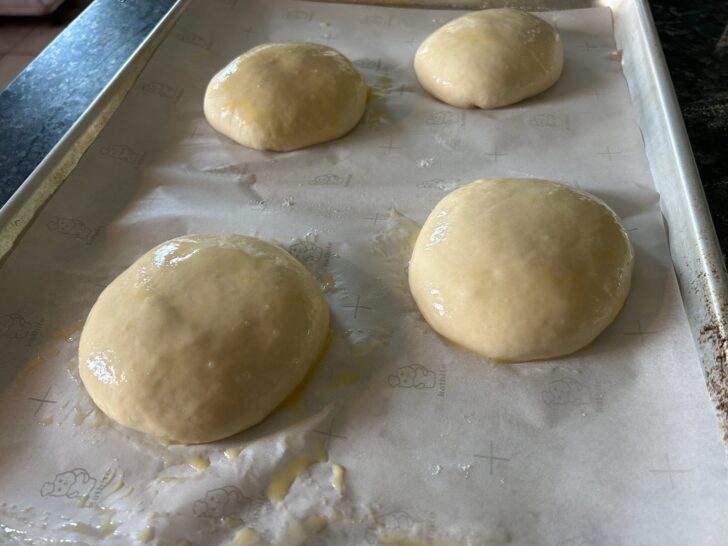
Sprinkle generously with sesame seeds.
Bake for 20–25 minutes, or until golden brown.
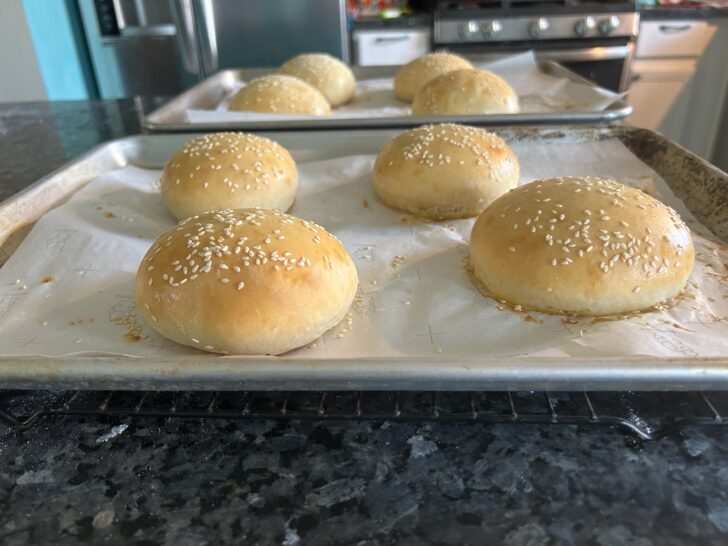
My buns took a bit longer to bake than originally expected, but keep a close eye on them. You want them golden, not overly dark. Overbaking can dry out the crumb.
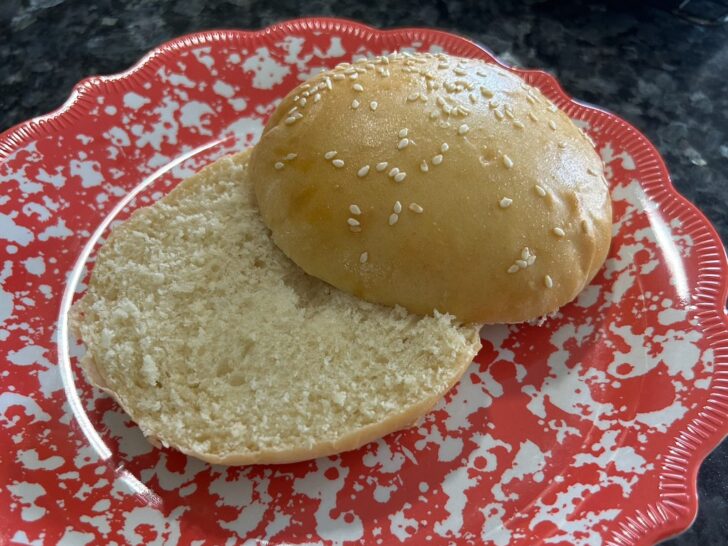
Allow the buns to cool completely before slicing.
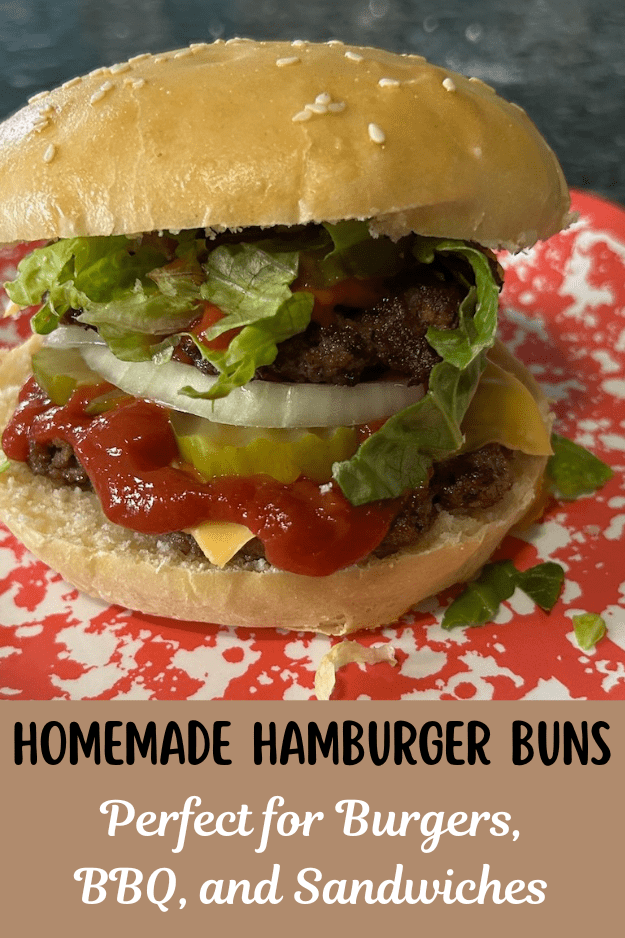
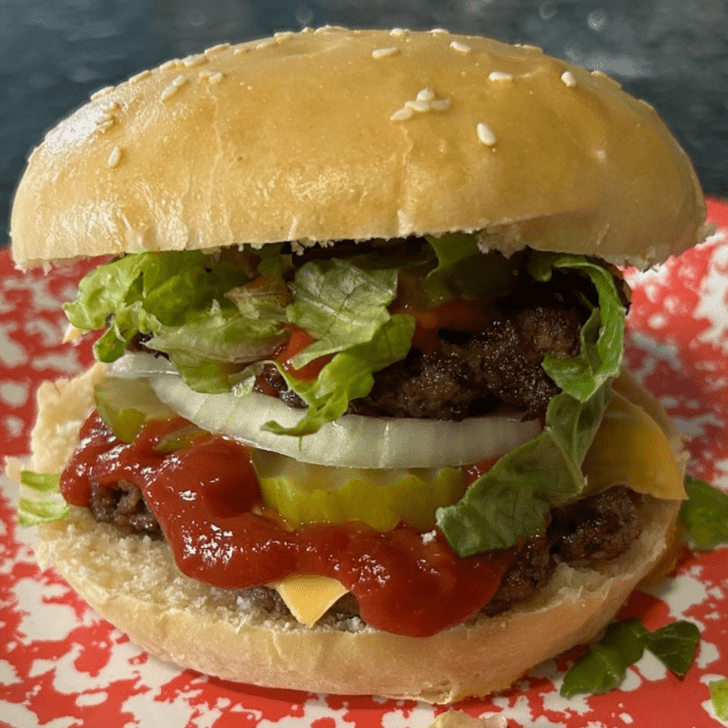
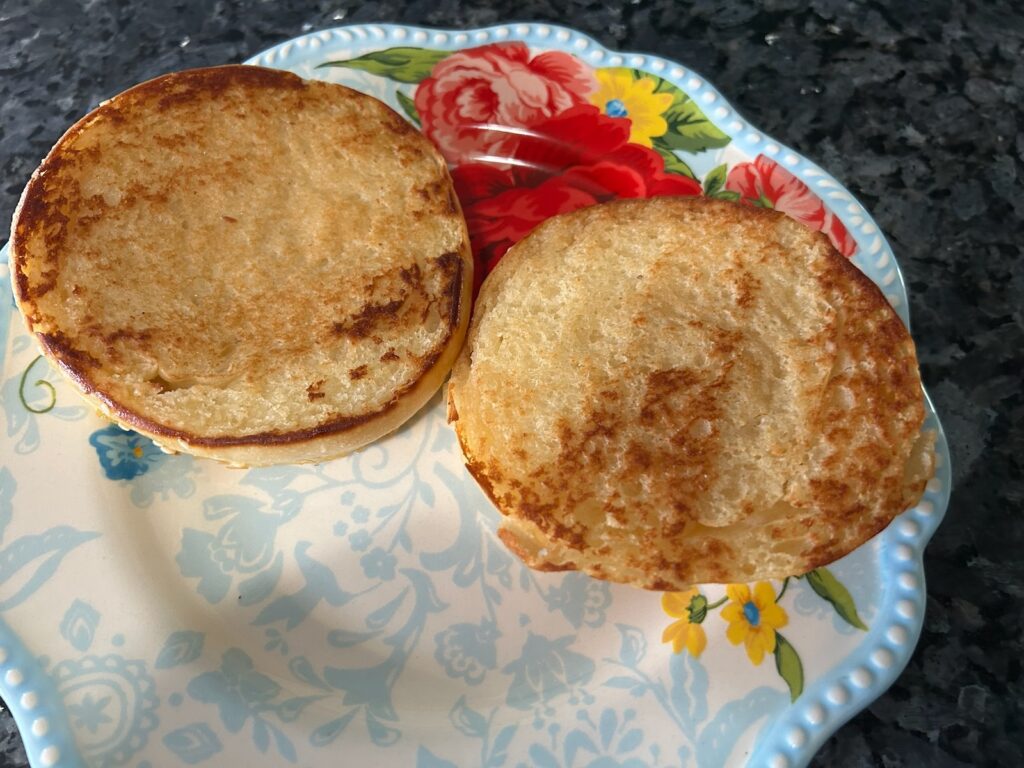
These buns are even more delicious toasted with a little butter. The crisp exterior and soft interior make them the perfect base for burgers, barbecue sandwiches, sloppy joes, and more.

Serve with your favorite burger or other protein. (See my notes below about uses for these buns!)
Perfect for More Than Just Burgers
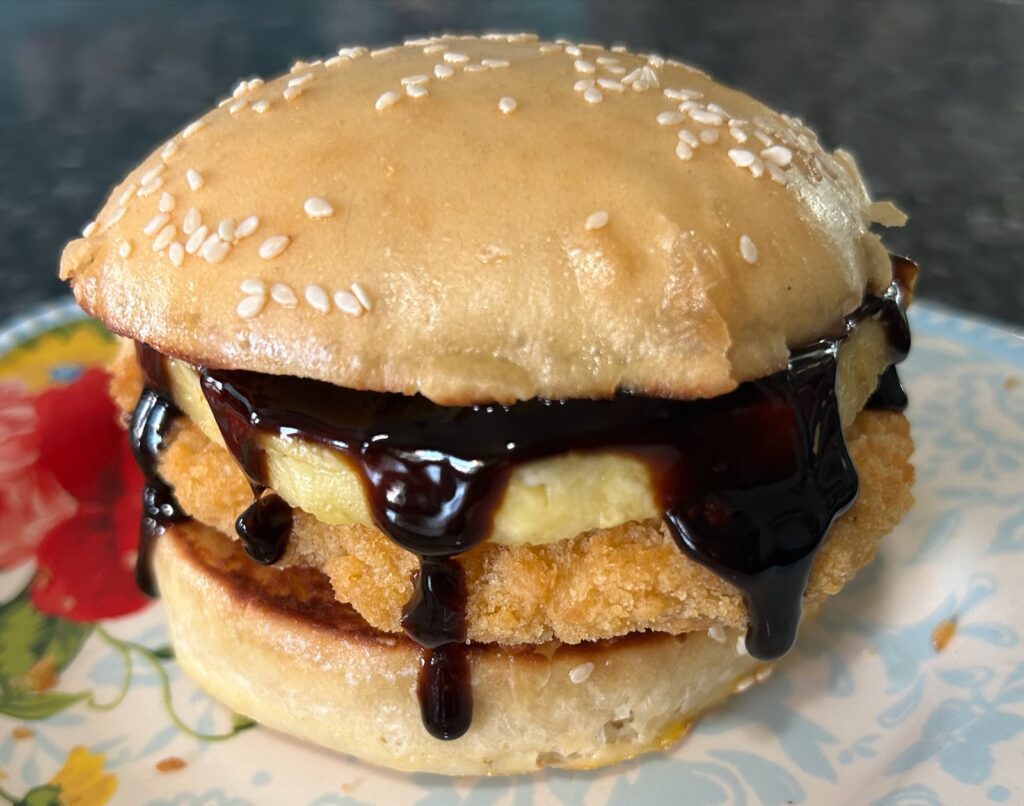
One of the things I love most about these buns is how versatile they are. They’re sturdy enough for sloppy joes and barbecue sandwiches, but soft enough for burgers and chicken sandwiches. I recently used them for a teriyaki chicken sandwich topped with pineapple and teriyaki sauce, and they held up beautifully without getting soggy.
hese buns are fantastic for all sorts of sandwiches, including:
- Pulled pork sandwiches
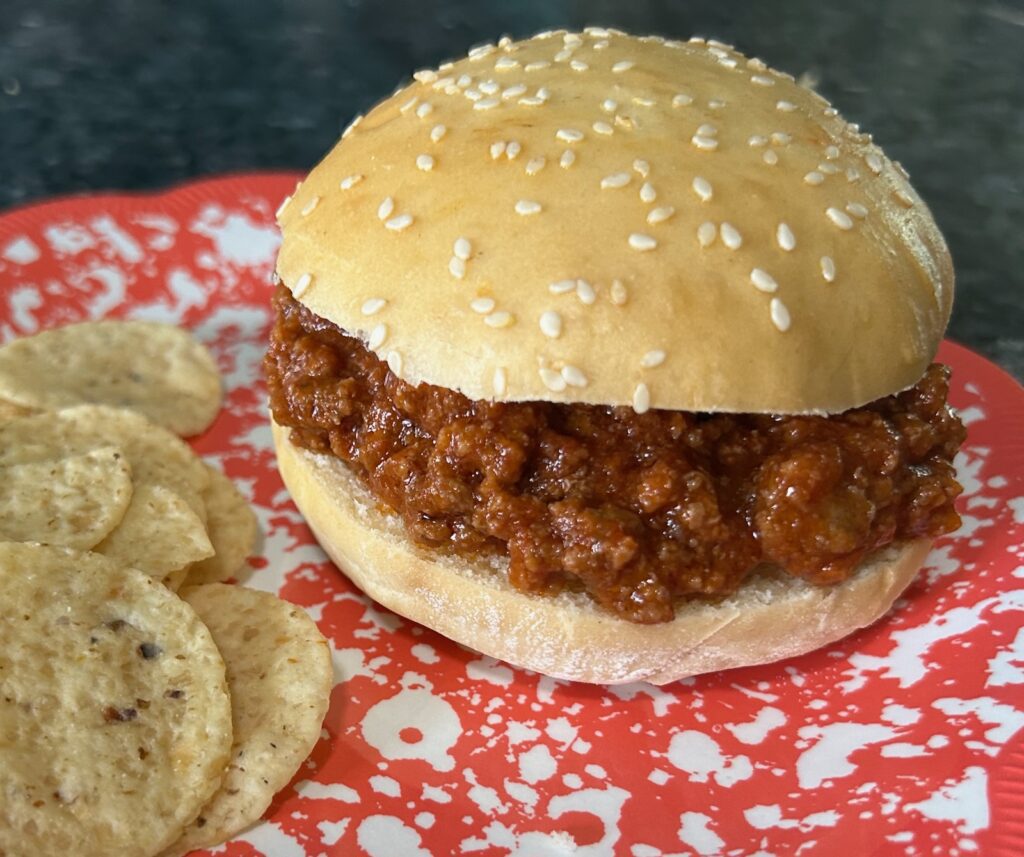
- Sloppy Joes
- Barbecue beef sandwiches
- Chopped brisket sandwiches
- Bacon cheeseburgers
- Double cheeseburgers
- Teriyaki chicken sandwiches
- Crispy chicken sandwiches
In fact, I recently used one of these buns for a teriyaki chicken sandwich topped with pineapple and teriyaki sauce. The sturdy texture held up beautifully and made a delicious alternative to a traditional burger.
I also keep homemade sloppy joe filling portioned out in my freezer, and these buns are sturdy enough to handle those saucy sandwiches without falling apart.
Can I Turn This Dough Into Hoagie Rolls?
Absolutely. Divide the dough into 6 portions instead of 8 and shape each portion into a short log instead of a round bun. These make wonderful hoagie rolls for:
- Meatball subs
- Italian sandwiches
- Philly cheesesteaks
- Pulled pork sandwiches
- BBQ beef sandwiches
If your primary goal is a softer hoagie roll, consider replacing about ½ cup of the bread flour with all-purpose flour.
Can I Use This Dough for Dinner Rolls?
Yes! For softer dinner rolls, replace about ½ cup of the bread flour with additional all-purpose flour. You can:
Make Classic Dinner Rolls
Divide the dough into 12–15 pieces, roll into smooth balls, and place them in a greased baking dish so they touch while baking.
Make Muffin-Tin Rolls
Place the dough balls into greased muffin tins for perfectly shaped individual rolls. These are wonderful for holiday meals and weeknight dinners alike.
Frequently Asked Questions

Can I freeze these hamburger buns?
Absolutely. Allow them to cool completely, then store in a freezer-safe bag for up to three months.
Why did my buns turn out too tall?
Most likely, the dough wasn’t flattened enough before the second rise. Don’t be afraid to press the dough into a wider disk shape before proofing.
Can I make softer buns?
Yes. Replace about ½ cup of the bread flour with all-purpose flour for a lighter, softer texture.
Can I make these without sesame seeds?
Of course. The sesame seeds add classic flavor and appearance, but the buns are delicious either way.
Are these good for pulled pork sandwiches?
They’re excellent. In fact, their slightly sturdier texture makes them ideal for pulled pork, sloppy joes, BBQ beef, and other hearty sandwiches.
Backyard Texas Grill Tip
For the best flavor, lightly butter the cut sides of the buns and toast them before serving. A quick toast adds flavor, improves texture, and helps the buns hold up even better under juicy fillings.
Thanks for Stopping By!
Before you go, why not pin some photos to your Pinterest boards?